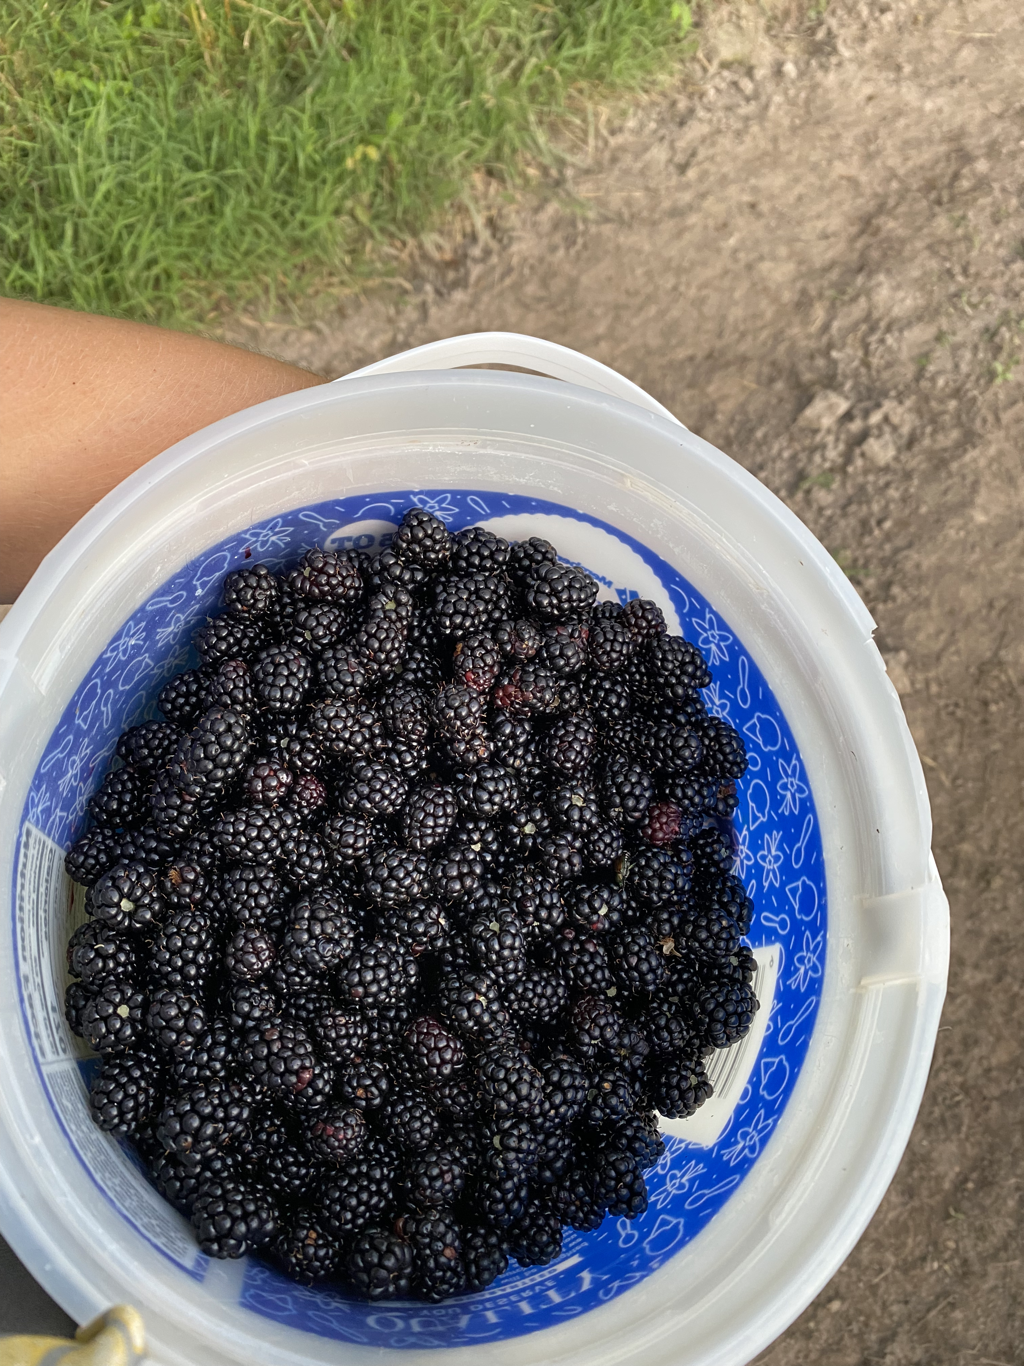
 When we moved to this farm over ten years ago, the vegetation along our creek bed was virtually non-existent. Brown earth showed through the patches of grass here and there. For years, our creek bottom, now our hayfield, was used for crop ground. As with most ground utilized for crops, chemicals were the method of fertilizing and controlling the field. Plant and insect diversity as well as soil health and erosion were the cost. Not only was much of the top soil been lost through tillage, but one particularly enjoyable plant had been annihilated- blackberries. We began implementing our farming practices after purchasing the land, eliminating all chemicals. Within a couple of the years the blackberries and black raspberries came back not only in the hay field, but also in our back 40 acreage. Now the blackberry canes are over 10 feet tall in some areas and so thick we have to brush hog them.  This winter, we literally brush hogged them by running our mobile hog pens through the middle of some of our densest patches. We now have nice wide paths to meander down and pick thumb sized berries from. Do the berries need controlled? Yes. Would spraying them be the easiest and fastest method of control? Yes. But I’ve never heard any complaints about our farming practices and the extra labor involved when someone is enjoying a warm bite of cream topped, blackberry buckle. For your family, our farming practices allow for the forage your hogs and beef are consuming to be 100% chemical free. Plus, a blackberry fed hog just tastes a little better. We understand why most farmers utilize chemicals. The labor, time, and energy involved in alternative farming practices is extensive. With most farms no longer being sustainable from a financial standpoint, farmers are left with no other option but to work in town full time and farm on the side before and after work. Chemical sprays become a necessity at that point, as rotational grazing and running hogs on pasture and in the woods is a full time job. In our case, it’s a full time job for multiple people. 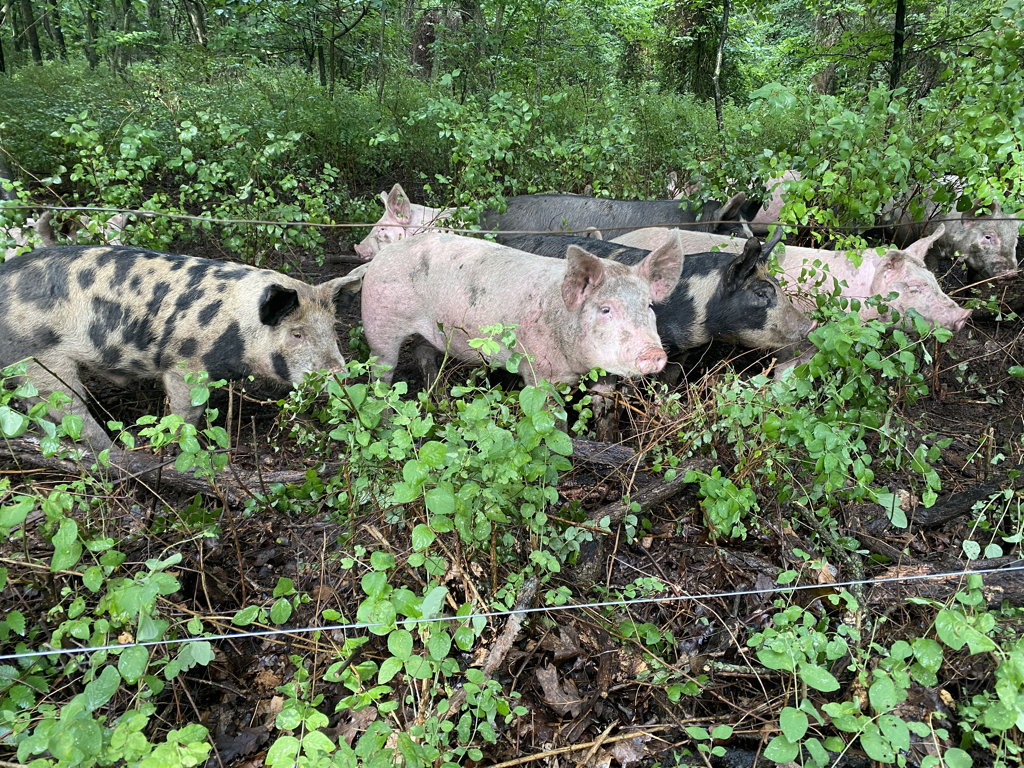 While Dad still supports our family with his off farm income, we are blessed that the farm provides full time positions for several of us siblings. During the summer Eli works from sunup until sundown on the rotation of our dairy herd, beef herd, hogs, laying hens, and broilers. I assist him while also communicating with you all, and Victoria works part time behind the scenes keeping the store room cleaned out for you all and washing and caring for all of your jars. She also assists Mom with order response and processing, and Emma contributes to the farm in valuable ways assisting her siblings with farm production.
For us, chemical free is not just about improving the land or providing a healthful product. Chemical free creates a way of life for us with lasting values. Our goal is to pass those values onto your family, and our hope is that when given the choice between what is easiest and what is most valuable, you choose your values, every time.
1 Comment
 Mom and I were sitting in the kitchen the other day when I said, "You know how the Southern Living Holiday Cookbooks always share an entire menu of recipes? Wouldn't it be fun if we could do the same for our customer families?"
She agreed, and we started talking about the foods that normally make up our 4th of July table. I compiled some of our favorite recipes and typed them out. I don't have fancy step-by -step photos or poetic descriptions for you, but I do have tried and true recipes, enjoyed and loved by our family. Here they are: Seasoned Steaks There is a simple science behind steak seasoning methods. The key is to salt heavy and early. We like to salt ours the night before. You can find the blog link here. Grandma's Scalloped Potatoes 10-15 medium sized potatoes 2 T. butter 2 T. flour 1 t. salt 1 t. pepper 2 c. milk 2 c. cheddar cheese Peel and cube potatoes into a large pot. Cover the potatoes with water. Bring to a boil on the stove. Cook until tender (10 to 15 minutes). Drain the potatoes. Transfer to a large, greased baking dish (13x9 or larger). In a small saucepan, melt the butter and stir in the flour to form a bubbling roux. Add the salt and pepper. Stir in the milk until beginning to boil and thicken. Stir in the cheese. Pour the cheese mixture over the potatoes. Cover the dish with a lid or with foil. If cooking immediately, preheat the oven to 350 degrees Fahrenheit and bake for 30 minutes, or until bubbly and beginning to brown on top. If baking the next day, allow to cool and place in the fridge. When you are ready to bake, remove the dish from the oven while preheating the oven. Bake for 45 minutes at 350 degrees Fahrenheit. Mom's Baked Beans 3 cans of pork and beans 1/2 c.- 3/4 c. molasses 1/3 c. brown sugar 1 t. yellow mustard 3-4 slices of bacon, uncooked Stir together all of the ingredients, except for the bacon, in a medium sized bowl. Transfer to a 9x13 baking dish. Top with the bacon. Cover with foil and place in the fridge if you are not baking them immediately. When you are ready to bake them, preheat the oven to 400 degrees Fahrenheit and bake for 45 minutes or until the bacon is cooked and the beans are bubbly. Meme's Cornbread Salad 1 box Jiffy cornbread mix, prepared according to package directions 1 can of corn, drained 1 can of pinto beans, drained 1 c. of grated cheddar cheese 2 fresh tomatoes, chopped small 8 green onions, chopped with tops 1 pkg. of Hidden Valley dressing mix, prepared with 16 oz. of sour cream 4 slices of bacon, cooked crisp and crumbled Crumble half of the prepared corn bread into a round glass bowl. Layer half of each item listed above, except for the bacon. Repeat the layers, ending with the Hidden Valley dressing. Sprinkle the crumbled bacon on top. Cover with plastic wrap and place in the fridge until ready to serve. Seasonal Fruit Salad 4 to 5 fresh peaches 1 pint of blueberries or blackberries or both Peel and slices the peaches, discarding the pit. Stir in fresh berries. Sprinkle with a little bit of sugar (or honey), cinnamon, vanilla, and mint leaves, if desired. We hope this menu and recipes can help you create wonderful summer memories. Use it for the 4th of July or tuck it away for Labor Day. The summer will be over before we know it, and we're trying to savor it while it lasts. What are your plans for the rest of the summer? Do you have a family cookout on the list? From our family to yours, we wish you a blessed Independence Day!  On Saturday night, Mom and Dad slipped away for the weekend to a cabin on Beaver Lake to celebrate their anniversary. Our brother-in-law Taylor and I milked Sunday morning before Eli and Emma joined us for the rest of our chores. The light was so soft and beautiful in the hayfield where we were moving the broilers to fresh grass. Only one more day before they go in to be processed. I immediately started thinking about lunch. Some might think it odd that I would think about lunch before breakfast. Ok, some might think it odd that I would think about lunch while moving chickens to fresh grass, but such is the mind of Madelaine. My mind jumped to how the light was probably falling on our herb bed at the house, and if I could get the cows moved to fresh grass quickly, I would have just enough time to get a chicken in the oven before Sunday morning Bible class. I also went blueberry picking on Friday with my friend Molly. While that may seem like a rabbit trail to this discussion, it very much played into the recipe I am about to share with you all. Morning light, pastured chickens, garden herbs, and fresh blueberries served as inspiration. I popped the chicken in the oven before church and pulled it out as soon as we made it home. Slow roasted macaroni and cheese was hot and ready to be served with it. I had considered taking Eli and Emma out to lunch, but after we stopped into Walmart after church and dealt with the chaos there, coming home to a hot meal in the comfort of our own home was a nice reprieve. What about you? Do you enjoy coming home to a meal ready in the oven? (Recipe Below) Blueberry Barbecue Chicken
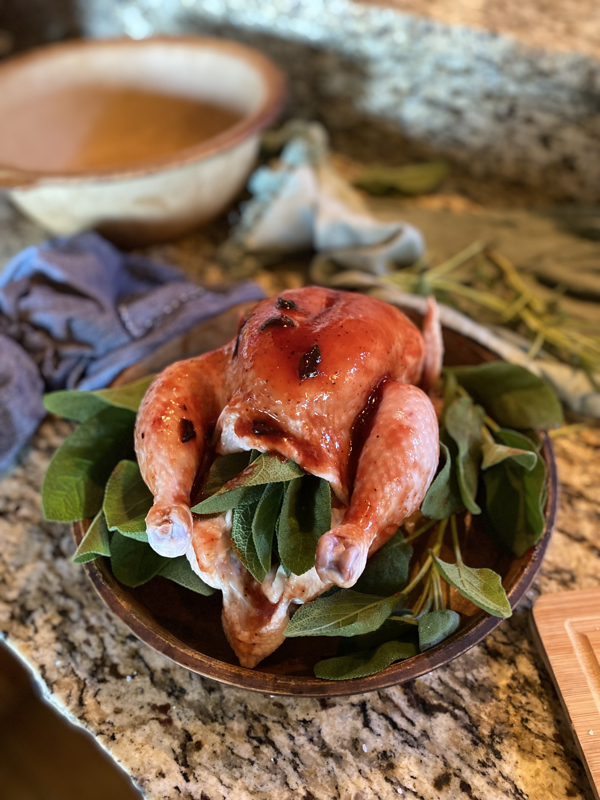
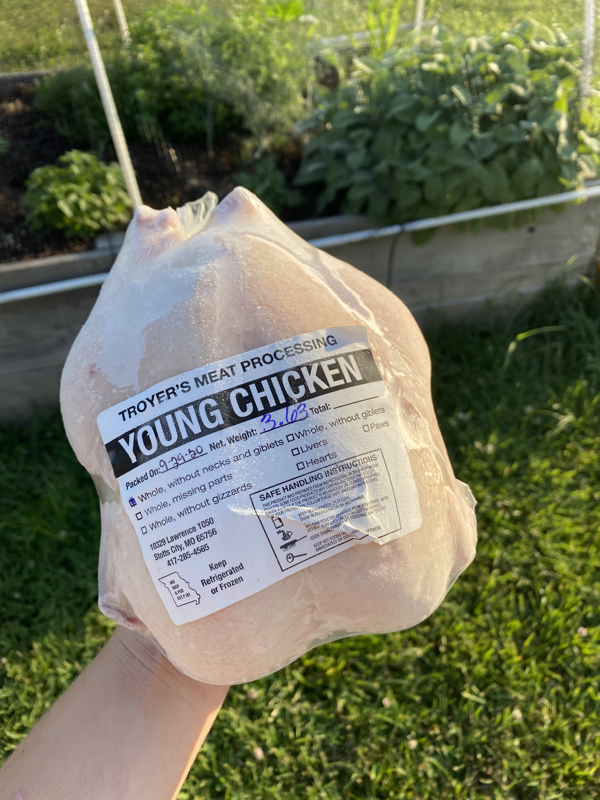
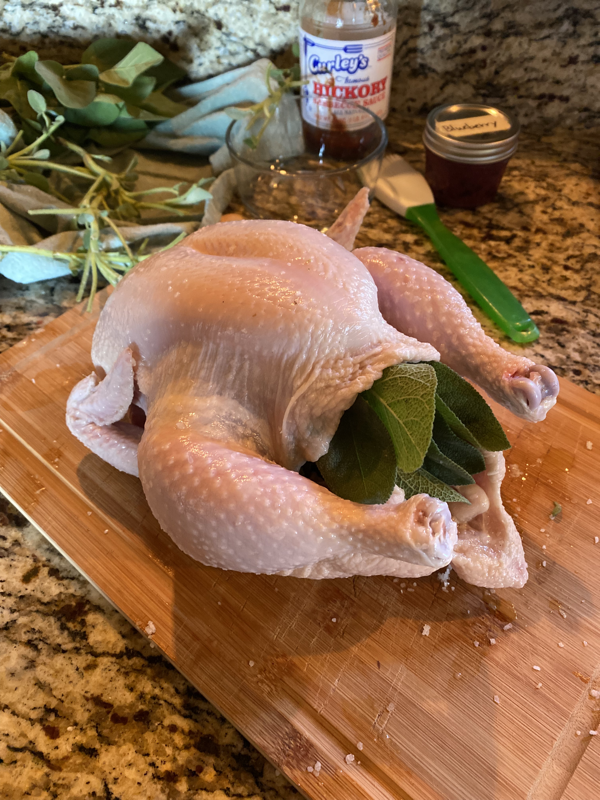
Allow the chicken to thaw. If you are in a hurry, like I was, remove the freezer bag off of the chicken and place the chicken in a clean bowl in your sink. Run lukewarm water over the chicken, filling the interior cavity. Replenish the water as needed to keep the water around room temperature. I did this as I was getting ready for church, checking the chicken every five to ten minutes. Once thawed enough for you to fit your hand inside, remove the chicken from the water and allow the chicken to drip dry in your sink. Place the chicken on a cutting board. Wash your hands and pour a small handful of olive oil into the palm of your hand. Oil the interior and exterior of the chicken. Next, measure a palm of salt in your hand and rub it on the interior of the chicken. Do the same thing for the exterior, and transfer the chicken to your baking dish. We like to use our round stoneware baker from Pampered Chef. This is the closest one I could find in case you would like to purchase it, but any dish such as a dutch oven that lets you seal the chicken tight will work. Then, take the sprigs of sage, pull of the leaves, and stuff them inside of the chicken until they look like they are trying to escape. Finally, mix 1/4 c. of the blueberry jam and your favorite barbecue sauce together and baste onto the outside of the chicken. Arrange any remaining sprigs of sage around the outside of the chicken. Cover and bake. I baked ours at 300 degrees Fahrenheit for 3 & 1/2 hours. Three hours would have been perfect (but Walmart). The chicken was still moist and tender, and Eli and Emma agreed it was a success. Let us know if you give it a try. 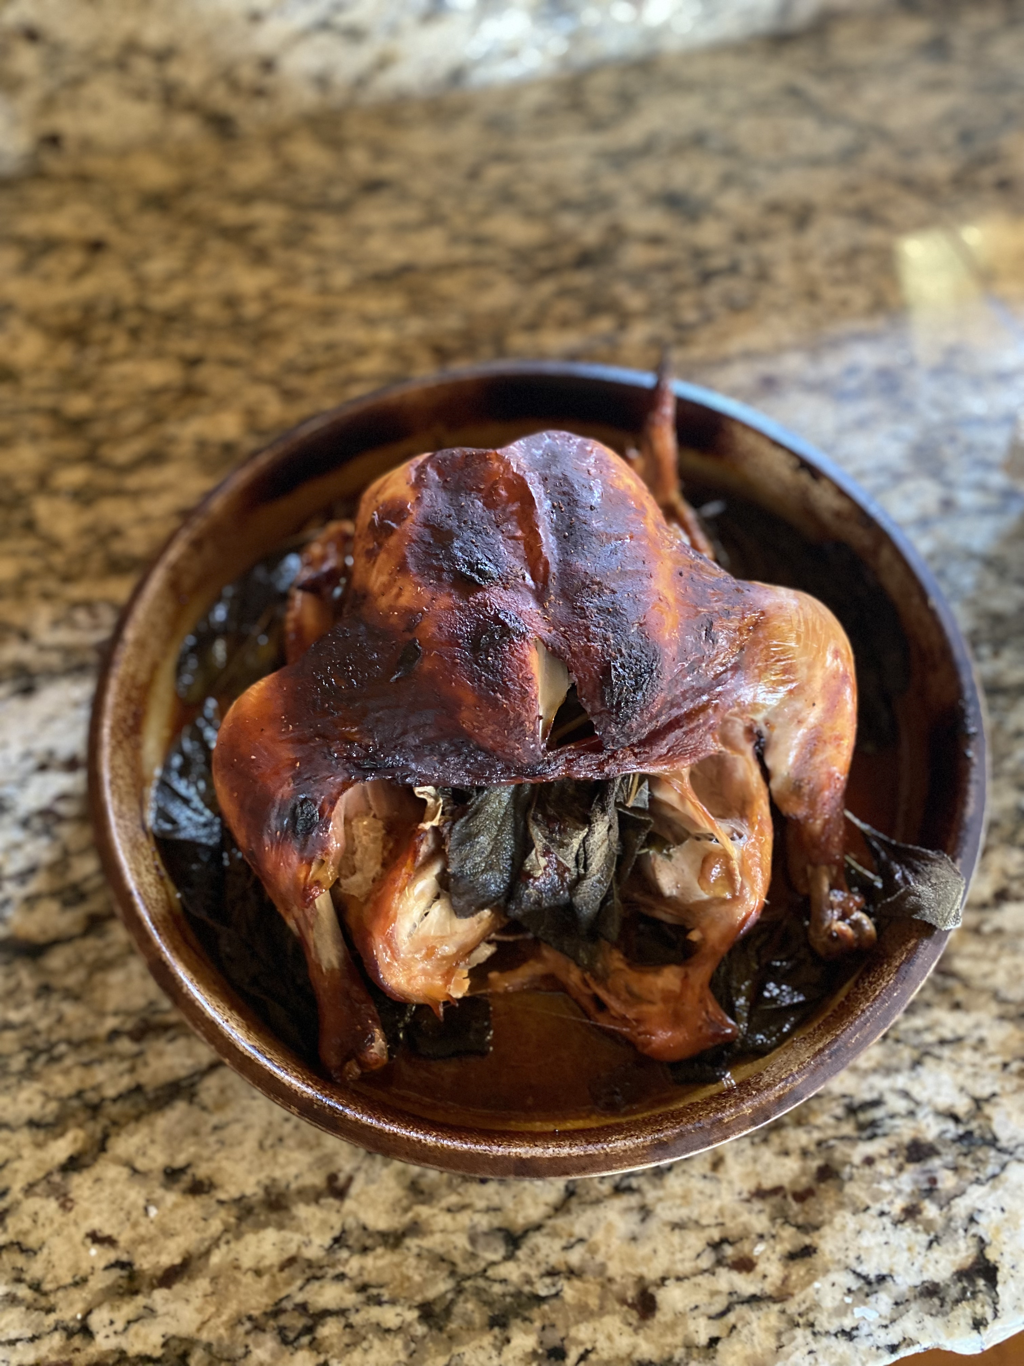 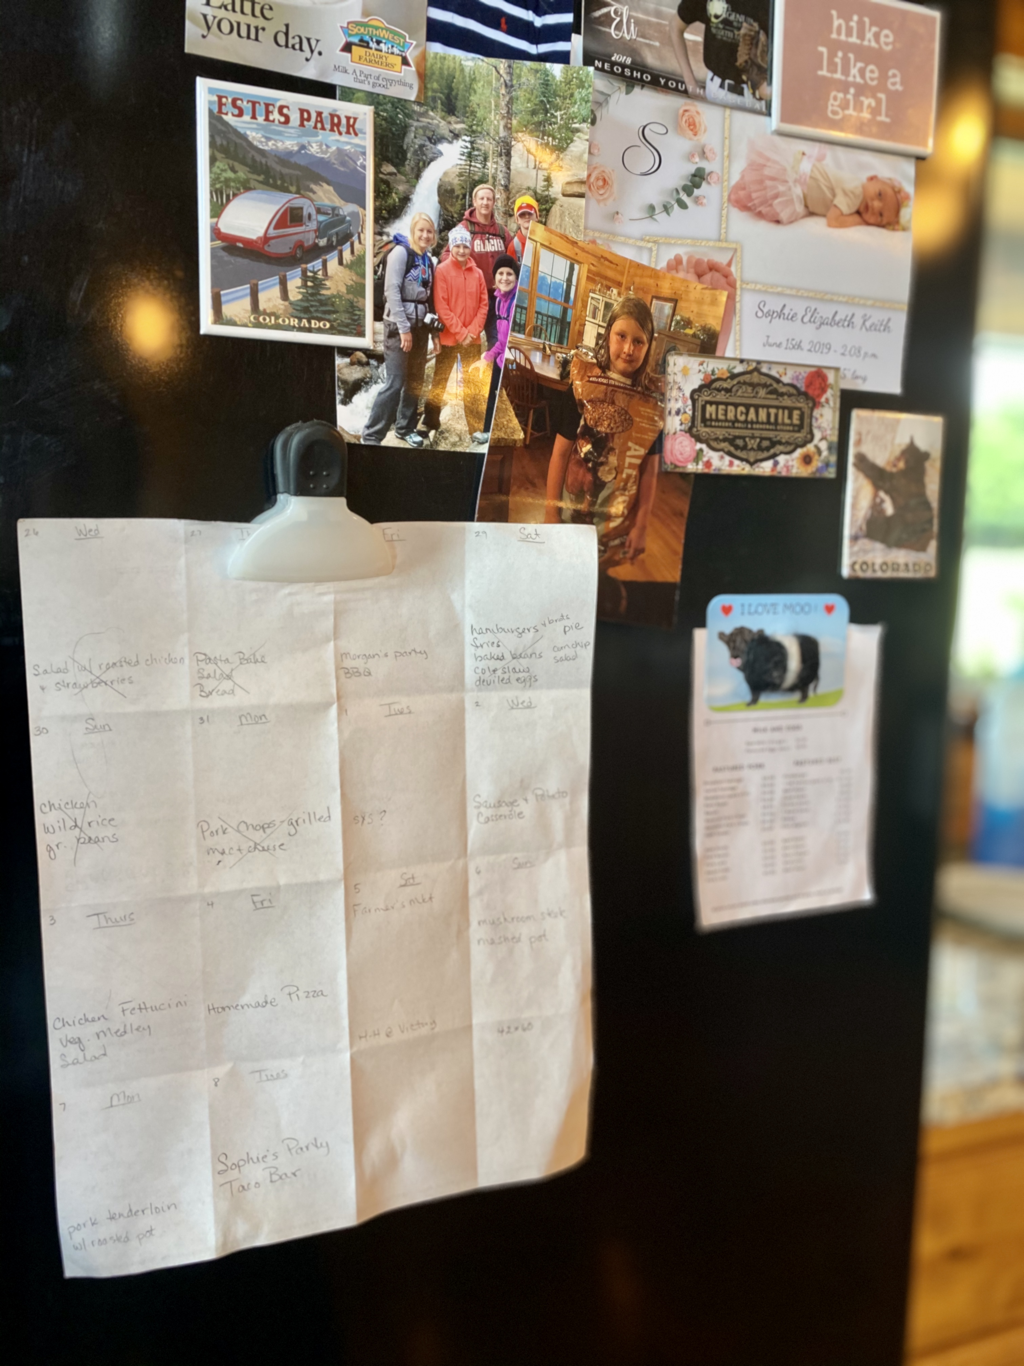 A scrap piece of paper folded into columns hangs on our kitchen fridge. Penciled in between those columns are our meals- two weeks at a time. It is a familiar sight. In fact, I don't remember ever not seeing it hanging there.
That piece of paper is not just a menu. It’s an outline for our family time around the table. It’s the list we consult before making other dinner plans. It’s represents consistency within our busy life. Like fitness plans, reading plans, and any other kind of plan, we could probably all give reasons as to why sticking with a menu doesn’t work for us. That’s why I called upon the expert herself, my mother- the woman who makes out menu plans even when we are on vacation. That’s dedication. Here are her tips for creating a simple menu you can follow through with: 1. Start with penciling in your activities for the week. You won’t have time to fix a meal you are not home to cook. If you have to be at baseball practice at five, you’re going to need to put a meal in the crockpot that morning or have a casserole prepped that one of your other responsible children can put in the oven while you are gone. Mom plans meals around our activities. If we have a free night, she makes a more time consuming meal. If it’s an extremely busy night, breakfast food is on the menu. 2. Mix up your meats. Mom is big on not having the same or similar meals two nights in a row. If we had spaghetti one night, she doesn’t want homemade pizza the next night. She loves variety when it comes to types of food, and in the same way, she doesn’t like to eat beef two nights in a row, chicken two nights in a row, etc. As she is writing out her menu she balances the week with beef dishes, pork dishes, and chicken dishes. We might have burgers one night, pork chops the next, and a chicken casserole on the third night. This keeps the cook and the eaters from getting burnt out. 3. Have a well-stocked recipe box. Mom rarely runs out of meal ideas because she has so many meals on reserve. Worn recipe boxes, family favorite cookbooks, and Pinterest finds serve as inspiration for our menu. She focuses on meals she knows our family will eat, and she has some family favorite recipes that rotate through the menu every couple of months. As she’s thumbing through her recipe boxes, I often here her say, “I haven’t made that in a while.” More often than not, that meal winds up on the menu. If she is really lacking inspiration, she’ll send out a text that says, “What does everyone want for dinner this week?” and everyone chimes in, or she’ll have us vote on different meals to see if they make the cut for the week. 4. Give yourself grace. The cows get out. The men get stuck in the hayfield past dark, or a last minute activity springs up. Your menu will get mixed up, and you have to go with it. You can switch meals around or save them for the next week. The important part is having the ingredients on hand and having a plan to default back to even if you have to make adjustments. 5. Cook even when you don’t want to. I added this one myself because of all of the times I witness Mom in the kitchen even when she doesn’t want to be. It’s not that she doesn’t ever feed us leftovers or have us eat a sandwich, but nine times out of ten she fixes dinner even on the hard nights. Even when we get in from chores at 9 o’clock at night, even when she has a headache, even when she doesn’t have the energy to do anything else. These are the nights where we make pancakes, fry burgers, or scramble eggs. Having some easy meals on reserve for those nights when you don’t want to cook can still allow you to bless your family. If Mom had a life motto it would be, “Follow Through.” She keeps commitments- a characteristic I have always admired in her. In the next few weeks, I am hoping to sit down with her and ask her some questions about what motivates her when she’s tired. It’s a conversation I want to have for my sake as much as for yours. That’s a good direction to take this conversation. Whether it is writing out a menu plan, cleaning your home, or maintaining loyalty to others, what motivates you in life even when you don’t want to keep going? 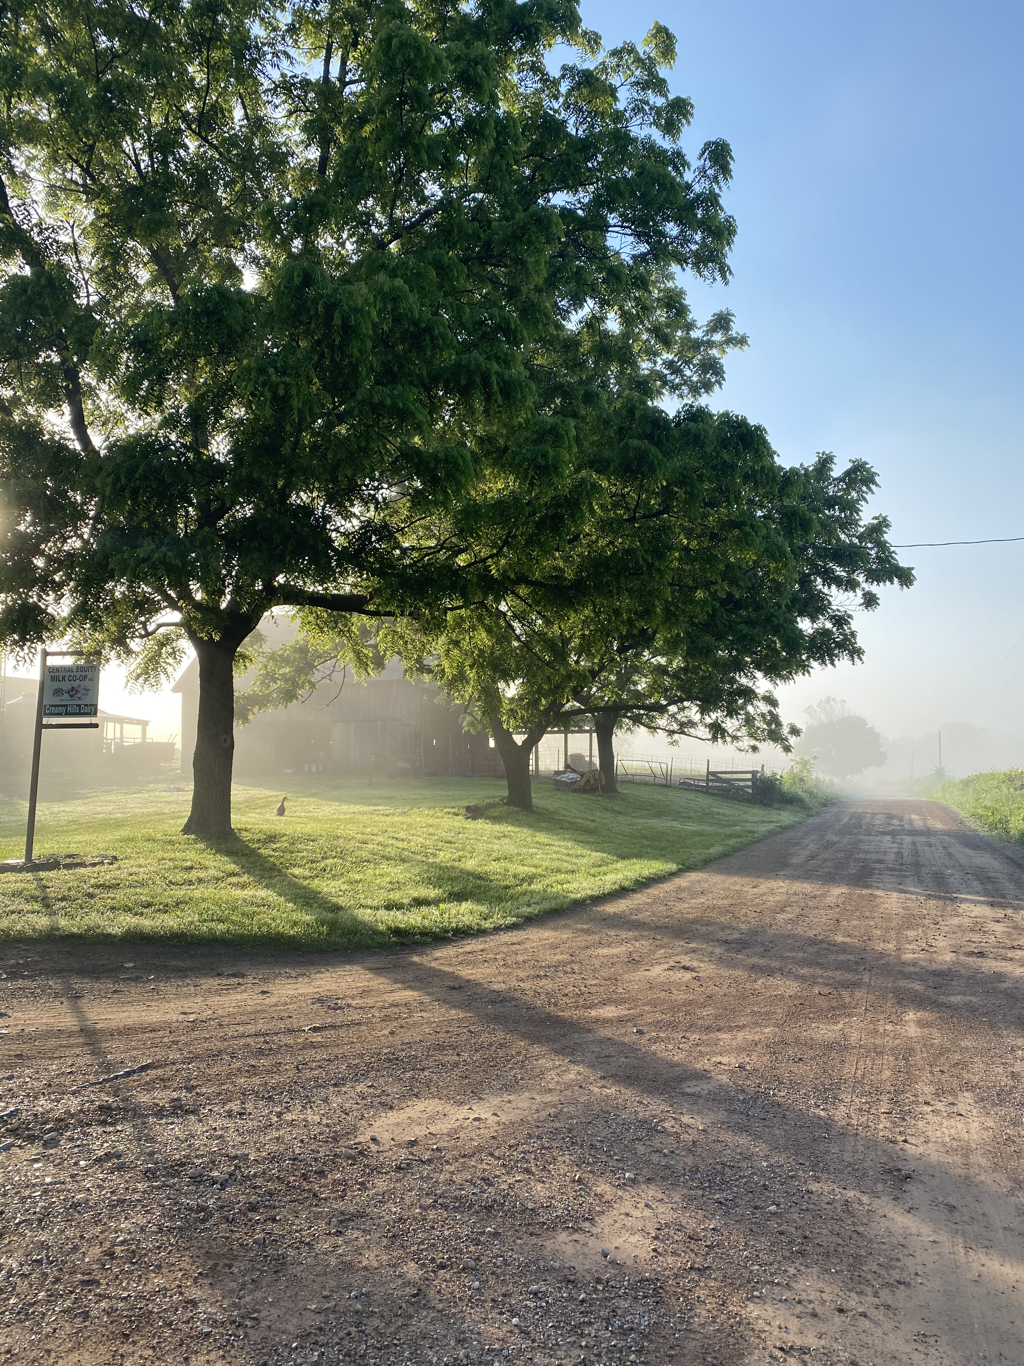 5 Tips to Make the Most of Your Drive to the Farm
Whether you are driving fifteen minutes or an hour and fifteen minutes, making the drive to the farm can feel overwhelming at times. There’s no amount of poetic musings or lovely sunsets that can replace time you just don’t have. If you have ever said, “I don’t have time to cook, let alone drive to the farm to pick up” these tips are for you. 1. Write out your weekly menu. I will be going into more detail on this in our next blog post, but if you don’t go into your week with a plan for what you are going to cook, it’s likely not going to happen. Dinnertime will come and you will have nothing thawed and no ingredients on hand. Another night of sandwiches and cereal will come and go. Carve out thirty minutes, write out your activities for the week, and plan your menu around them. A simple menu will save you time and stress later on in your week. 2. Simplify your stops. Once your menu is written, your grocery list is practically already made. If you are already coming for milk, what else could you add to your order from your shopping list? You’ll save time and gas money by making fewer stops. Plus, your meat is already bagged for you. Let us know what you are fixing and/or how many people you are trying to feed, and we’ll find the right items for your menu. If you say, “I’m wanting to make cubed steak. There are four of us, and my husband and son are pretty big eaters,” we’ll know to give you two to three packages. If it is a meal for just you and your husband, one package might do. 3. Plan your trip around other errands. If you are already making your grocery runs a certain day of the week, it makes sense to schedule your farm pickup for the same day when you are already out and about. Many of you like to come to the farm after you run your other errands because you say the farm brings you a peace you don’t get at the grocery store. A friend told me a couple of years ago, “It’s not stressful to come to the dairy.” Yesterday, a friend said she felt a weight lifted off of her shoulders as she walked up the store room ramp. While it may not seem like the most practical advice, take a minute to stop and listen to the sounds of the farm, give thanks for some of your blessings, and head home ready to feed your family. 4. Make fewer trips. If you are coming to the farm every week and that is too much for your schedule, an every other week order might be a good option. Better yet, find a friend who is also a Creamy Hills Dairy customer and take turns picking up for one another. If you picked up for each other every other week, you would only have to drive to the farm once a month. We have several customers with standard orders set where they pick up hamburger for a friend every other week, and it works nicely for them. 5. Redeem your time. When was the last time you called your grandma or that friend you haven’t seen in months? Your drive to the farm is a great time to schedule that call in. Or what about the book you have been trying to get through for over a year? Find it on audio and give it a listen. We even have some customers who pick up their order after date night. A sunset drive to the farm- how romantic is that? If you are not married, bring a friend along to catch up. Now, if only we had coffee for you when you arrived. That would be practical. For those of you who love your regular drive to the farm, what would you add to the list?  The visionary and the realist- that's what Joel Salatin dubbed them after meeting Mom and Dad at a farming conference a few years back, and he wasn't wrong.
I've grown up living the ebb and flow of the visionary and realist lifestyle. It's like ocean waves lapping a little farther with each tide and then gravity pulling the waves back in. It keeps life interesting. powerful. balanced. Dad grew up with a hunger for farming. He spent his summers on his family farm in Northern Missouri, dreaming of the days he could run a herd of his own. He wrote to every breed magazine in the industry, asking for old copies of herd catalogs to be mailed to him and the piles under his bed grew. To Mom, the farm was a place where her Papa lived with his black and white Holsteins. When she married Dad right out of high school, a life as a football wife was on her mind, not a life as a dairy farmer, but Dad had different plans, and being the support system she always has been, she went along with them. Our family's agricultural history can be traced back to the Revolutionary War, but there have been some generational gaps along that timeline- Mom and Dad being one of those gaps. With both my parents not having grown up on a farm directly, I used to think we were at a disadvantage, but now I realize it was a blessing. The gap in my parent's agricultural heritage provided them with a fresh perspective and an open approach to farming. They started early on in their marriage raising registered Angus cattle (a breed we still respect and utilize within our herd); however, they were doing everything conventionally, and eventually they started asking themselves what they were chasing, not only on our farm but also within our family. They made the decision to raise our family on a dairy farm, and we purchased our first herd of Jersey cows from some of our close friends. From there, Dad kept researching and reading, thinking there had to be a better way than the direction we were currently headed. He started dreaming of building a farm his children could inherit some day, and mom kept him grounded along the way. Working within the aviation industry as a general manager for much of Dad's dairy farming life did not yield itself to getting too carried away with farming dreams, but that is where the rest of us came in (more on that to come). While Mom never dreamed of being a dairy farmers wife, she fills the position well, dealing with more early mornings and late nights than she knew were possible. She's dealt with years of muddy floors and stinky laundry, and most days she does it with grace. When she's not dairy farming, she's cooking dinner for her family (one of her passions), enjoying a cup of coffee with fresh cream and dark chocolate sugar, or reading a good book (when she finds time). When Dad is not dairying, he's thinking about dairying, stretching our family just a little farther with each idea that comes to him. Mom brings those ideas back down to earth, but sometimes the waves take over, creating the Creamy Hills Dairy of today. 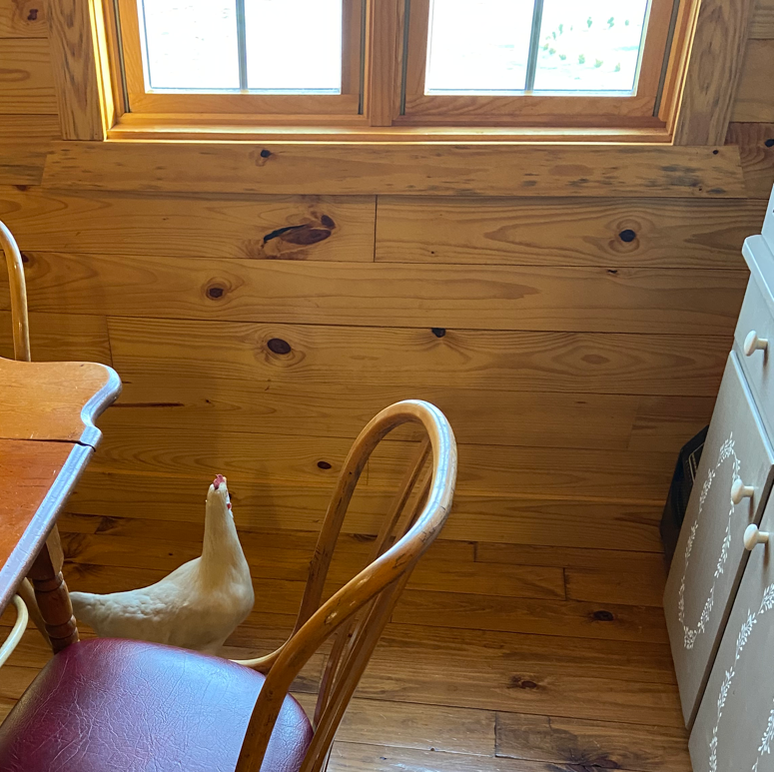 Stories for Sylia and Sophie, too:
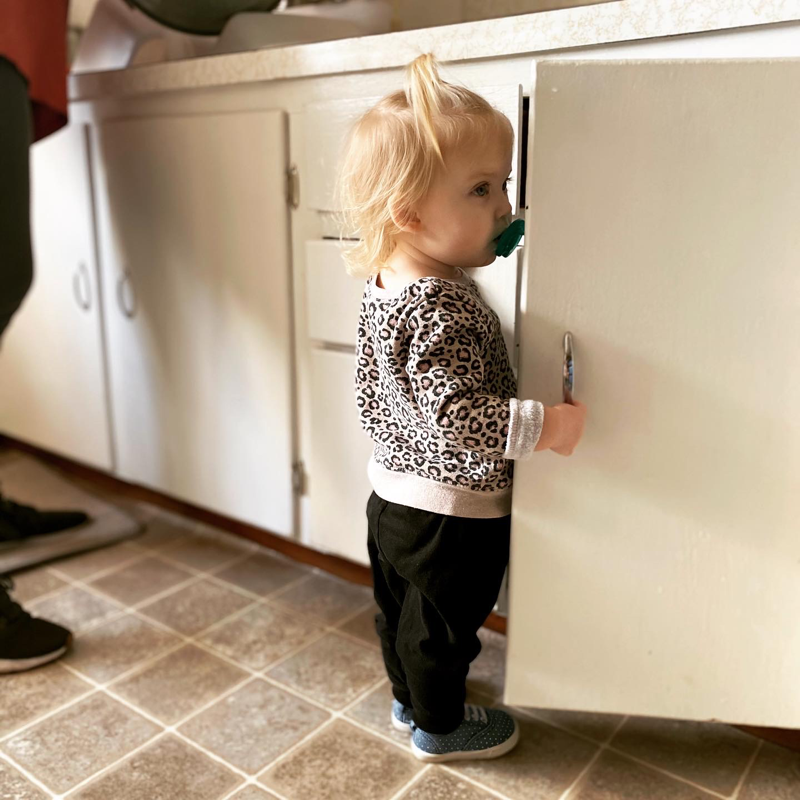
So that no matter where this life takes you, you remember where you came from. When you were both little you lived on the farm with Grammie and Pop. Your house was above the garage, and in the spring time your Uncle Eli would open the garage doors while he was working at his work bench. When the garage doors were open, Pop's chickens would come inside. They were empty headed animals- perching on top of the cars, laying eggs behind the freezers, and climbing the stairs to your house. One afternoon the sun was shining outside, and your momma decided to take you two girls for a stroller ride. The wind was blowing, and so she bundled you up in your jackets and off you went. You went down the drive, across the hay field, and along the creek bottom. Meanwhile, Uncle Eli kept working at his work bench, and the chickens kept climbing your stairs. When you returned to the house, your momma found the door blown open from the wind and a chicken in your kitchen. She squabbled and squawked as loud as the chicken as she picked it up and tossed it back outside. This was the first offense. A few days and a few chickens later, you all came home to a hen perched on your daddy's dresser. Only, this one was not going to be tossed outside without a fight. The chicken started flying through the air, jumping from one piece of furniture to the next, with your momma trailing right behind it. It was quite the scene- two wide eyed babies sitting on the couch and your momma chasing the chicken in circles around and around the house. You thought it was hilarious, indicated by your rolling belly laughs. When your momma caught that old hen, you clapped and cheered. Your momma was a hero. . . Grandma Janet said that chicken would have been fried chicken, but it lived to see another day, or at least- that's what your momma says. Victoria headed back to “work” this week, and the girls went with her.
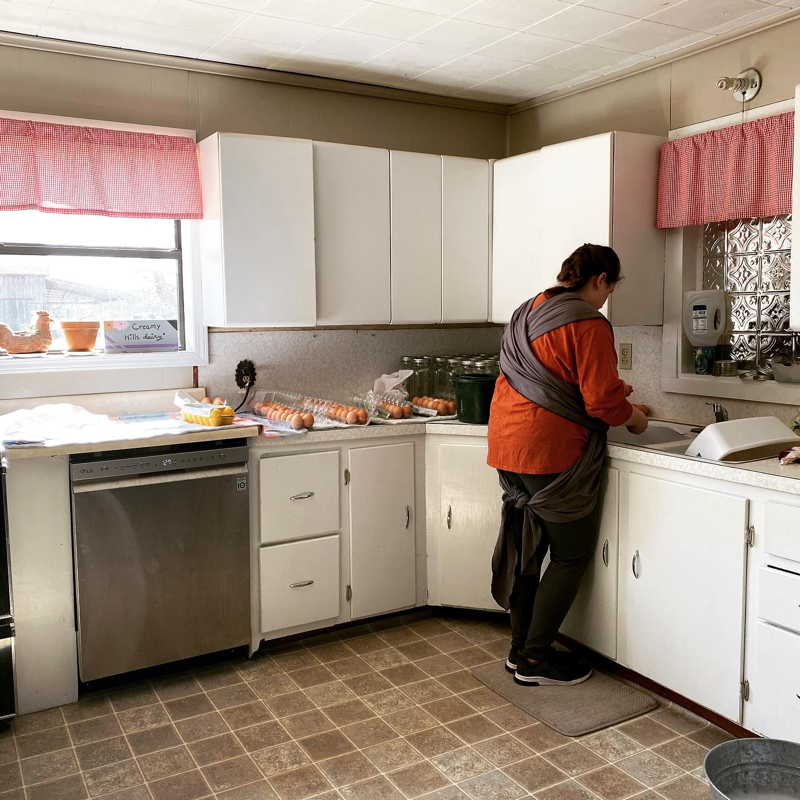
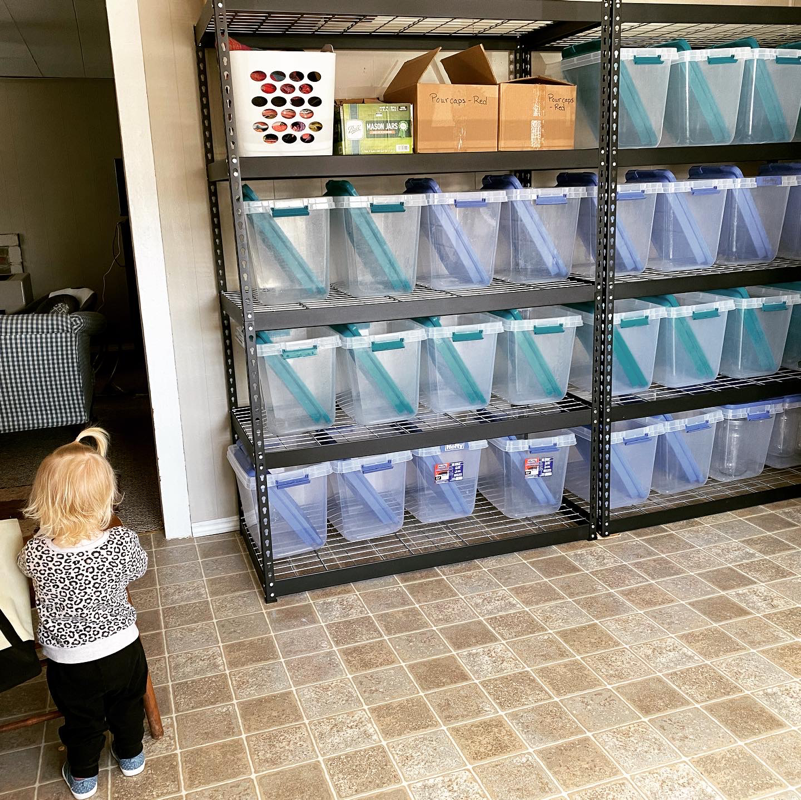
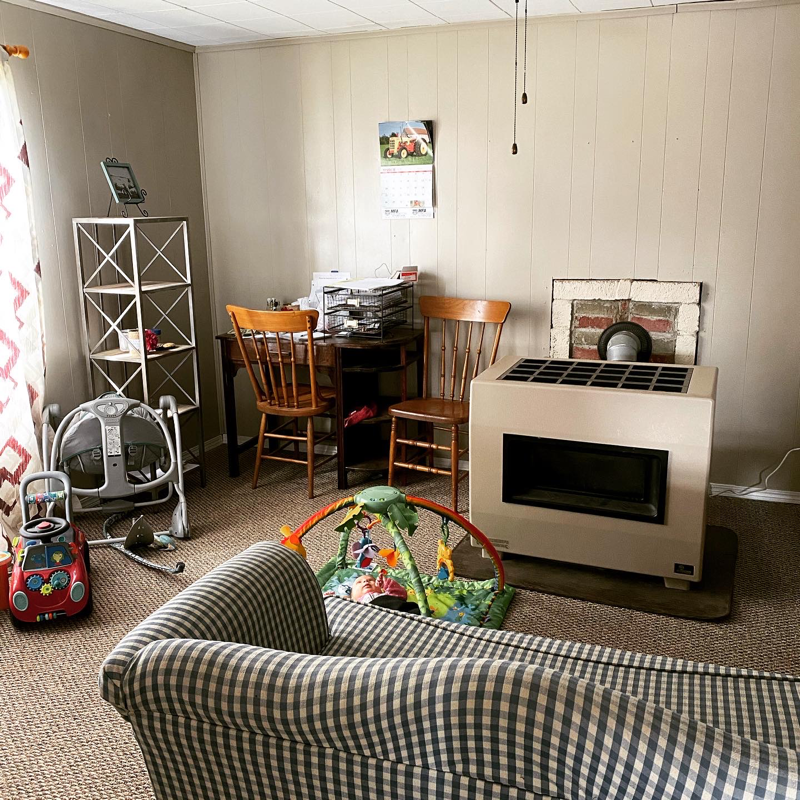
Growing up, Mom and Dad always made it a priority for Mom to stay at home with us, and we’re thankful that our farm today can provide Victoria with an income while also allowing her to be present with her girls. We added another shelf in the old kitchen to make room for our growing milk demand. The shelves hold the clean jars every day before being filled with milk the next morning. We’ve also turned the farm office area into a play room for the girls. This old house, where you pick up your meat, milk, and eggs was built in 1891. I often stop and think about the laughs carried, the tears shed, and the love shared here over the years. Our family has experienced all three within these walls- first as our home and now as the hub of our farm operation. One hundred and thirty years is a long time for a house to stand, but I’m thankful it’s being used to serve hundreds of families each week. No doubt, the farmer who built it would be proud to know each of you grace his front porch steps.  Sarah and Jason.
Mom and Dad. Grammie and Pop. Two high-school sweethearts with plans to build a life together. Farming wasn’t necessarily their goal from the beginning, but raising a family was, and farming became the best game plan for making it happen. Dad’s leadership from his years of high school and college sports built a team, and Mom’s sacrificial love became the glue that held it all together. Dad’s business leadership took him all over the world, but only for the purpose of building a better life for our family and farm. When given the choice between climbing the ladder or staying close to home, Mom and Dad chose home. In my opinion, a higher calling than corporate executive. Creamy Hills Dairy is our home here on this earth, and for the time being, our lives are dedicated to harnessing our talents and energy to make this land as productive as we can. Leadership. Team work. Glue. These are the things our family is made of. We overcome obstacles and set backs, but in the end, the “go harder” mentality wins, and we take time to celebrate the victories along the way. As we look at what is in store for the future, I’m thankful we have these two laying the groundwork ahead of us. 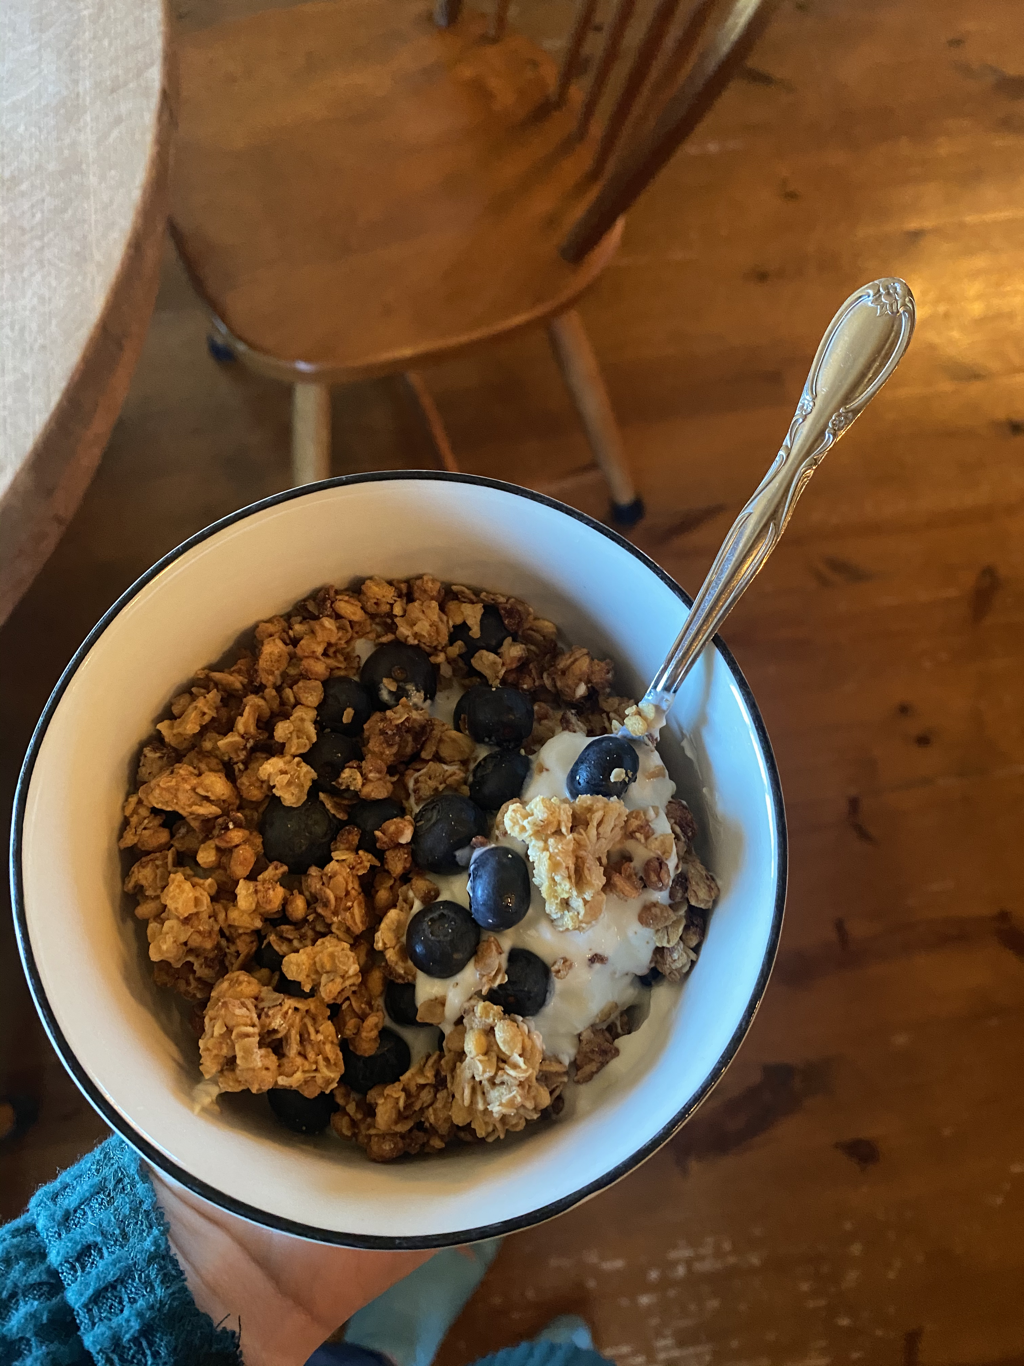 A few weeks ago I posted about my yogurt making process on our social media stories, and you all responded with lots of questions. I decided it would be easiest to answer them all in one spot. I am excited that so many of you are wanting to give homemade yogurt a try. I included the step by step process below. I use our Instant Pot, but if you don't own an Instant Pot, a quick Google search can help you find oven and crockpot recipes for yogurt. Because I haven't experimented with any of those recipes, I'm not going to link any of them here, but if you have a recipe that you love, please feel free to pass it on. To get started, you need an Instant Pot with a yogurt setting, half a gallon of whole milk, 1/2 cup of honey, and 2 T. of cultured yogurt (I started with GREEK GODZ greek yogurt from Walmart, but any yogurt that lists live and active cultures on the ingredient list should work). 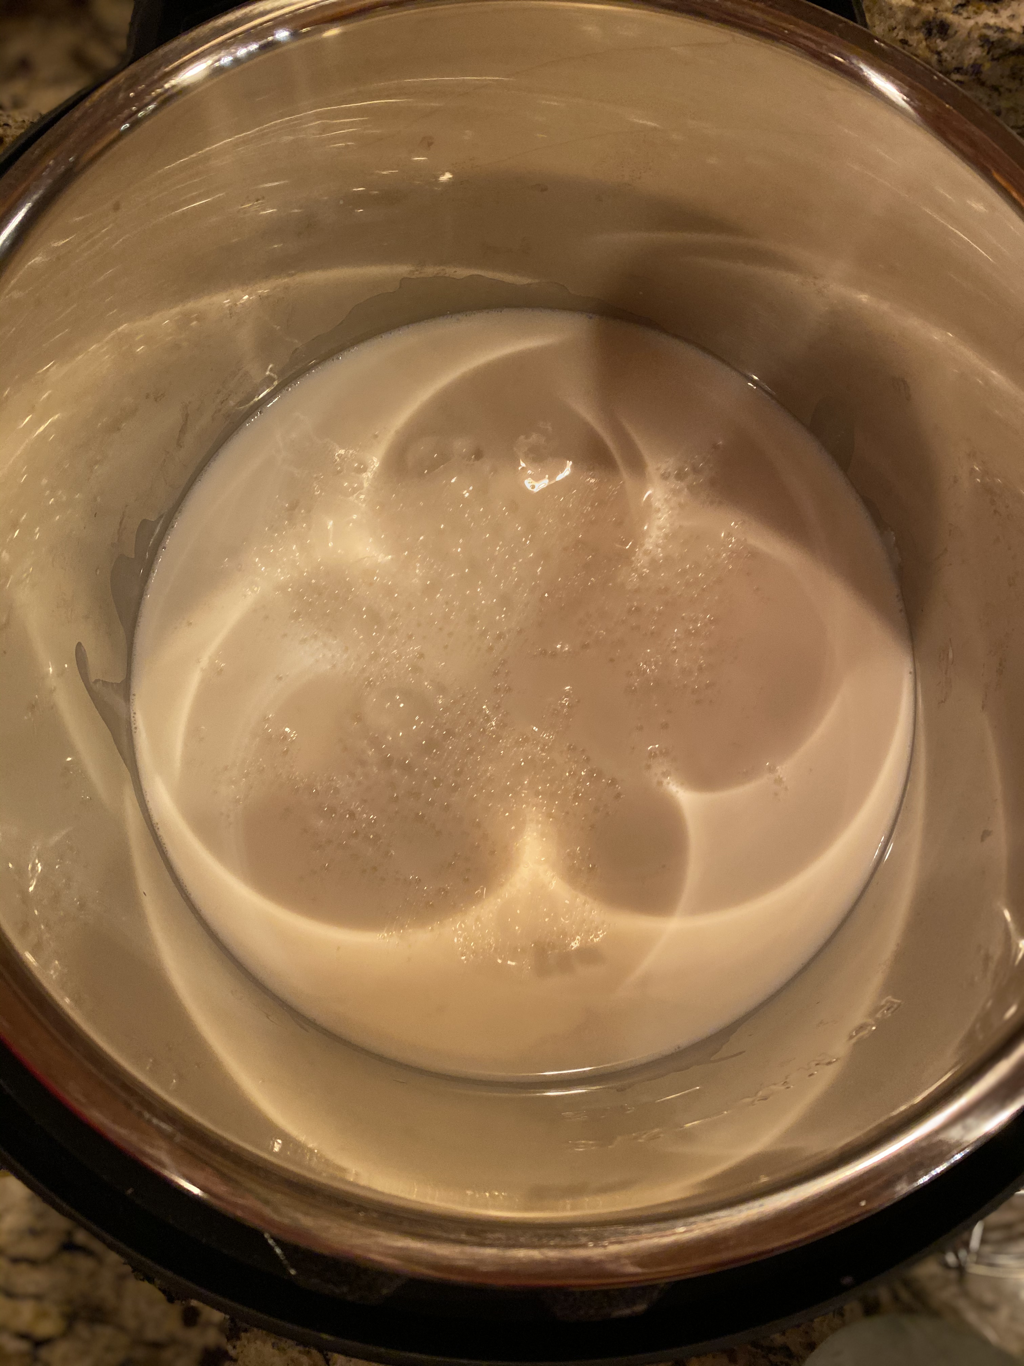 1. Start by making sure your Instant Pot is clean and dry. Plug it in. Pour in the half gallon of milk. Secure the lid. Make sure the vent is open (you don't want to pressurize the milk), and press the "yogurt" button on the Instant Pot until it reads "boil." Walk away until you hear the prolonged beep letting you know it's ready for the next step. I would say this takes 15-20 minutes. Note: the milk does not actually boil at this point. It scalds. Several of you asked about whether or not the heat hurts the nutrient properties of the milk. From the research I have done, you are just warming the milk enough to activate the starter and not causing significant damage to the nutrients in the milk. 2. When the beeping ends on your boil setting, remove the lid and lift out your pot with potholders. Set the pot on a cooling rack, and allow the milk to cool. The recipe I originally followed said to cool it down to 110 degrees F. before adding the culture, but I have found that 15 minutes in our kitchen is the right amount of time. 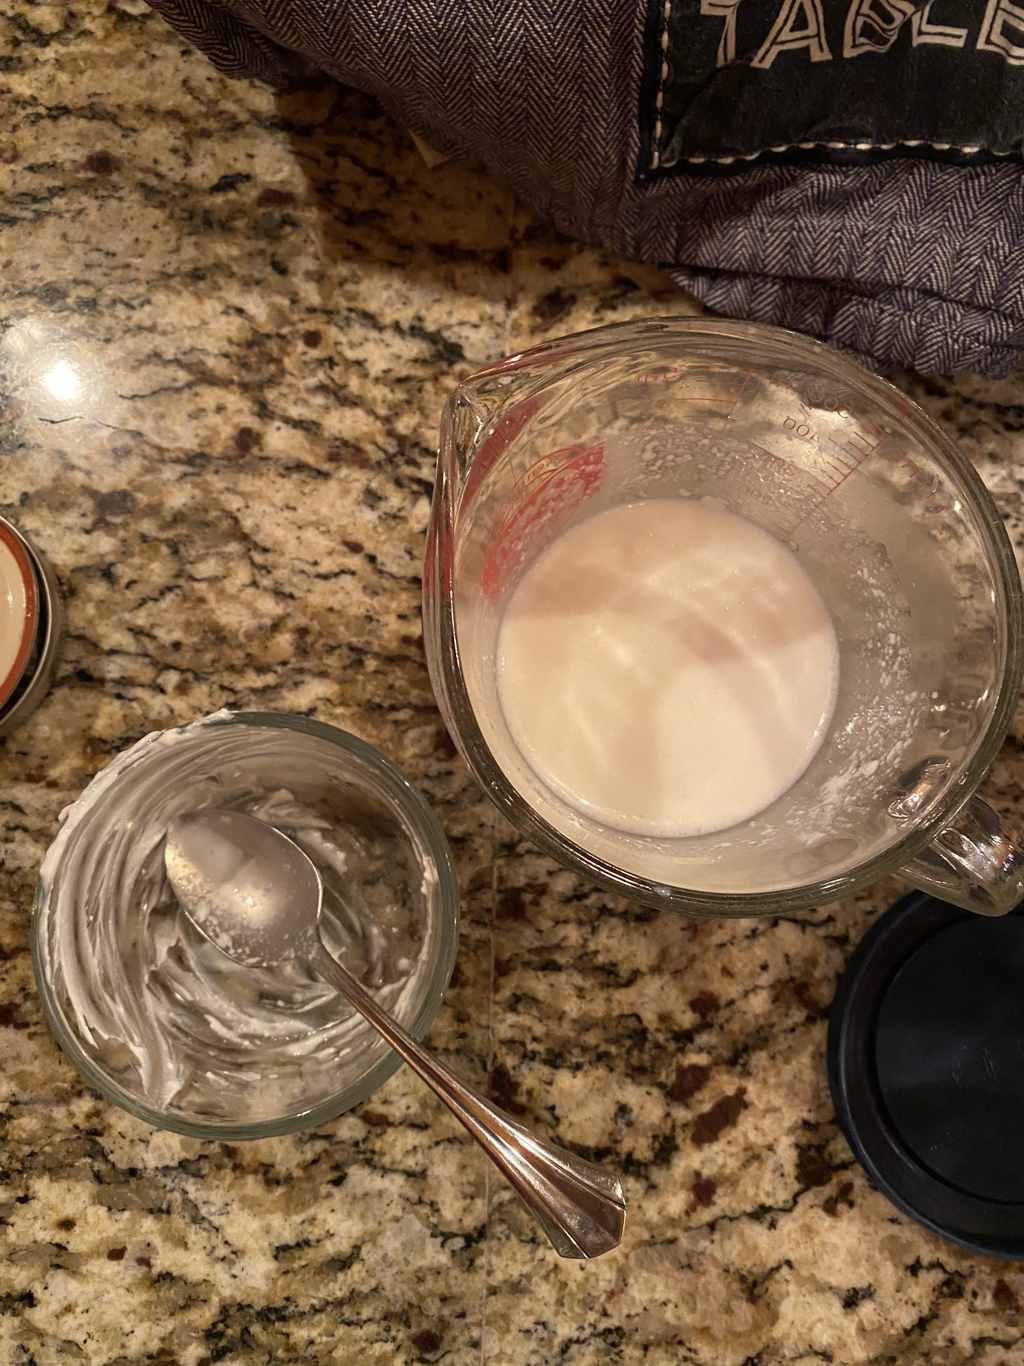 3. Once the milk has cooled, ladle out half a cup into a measuring cup. Whisk in two tablespoons of your cultured yogurt. Add 1/2 cup of honey to the milk and yogurt mixture. Whisk well and pour the mixture into the pot with the rest of the milk, whisking to incorporate. There will likely be a film on top of your milk from the scalding process. Don't worry about it. It won't hurt anything. 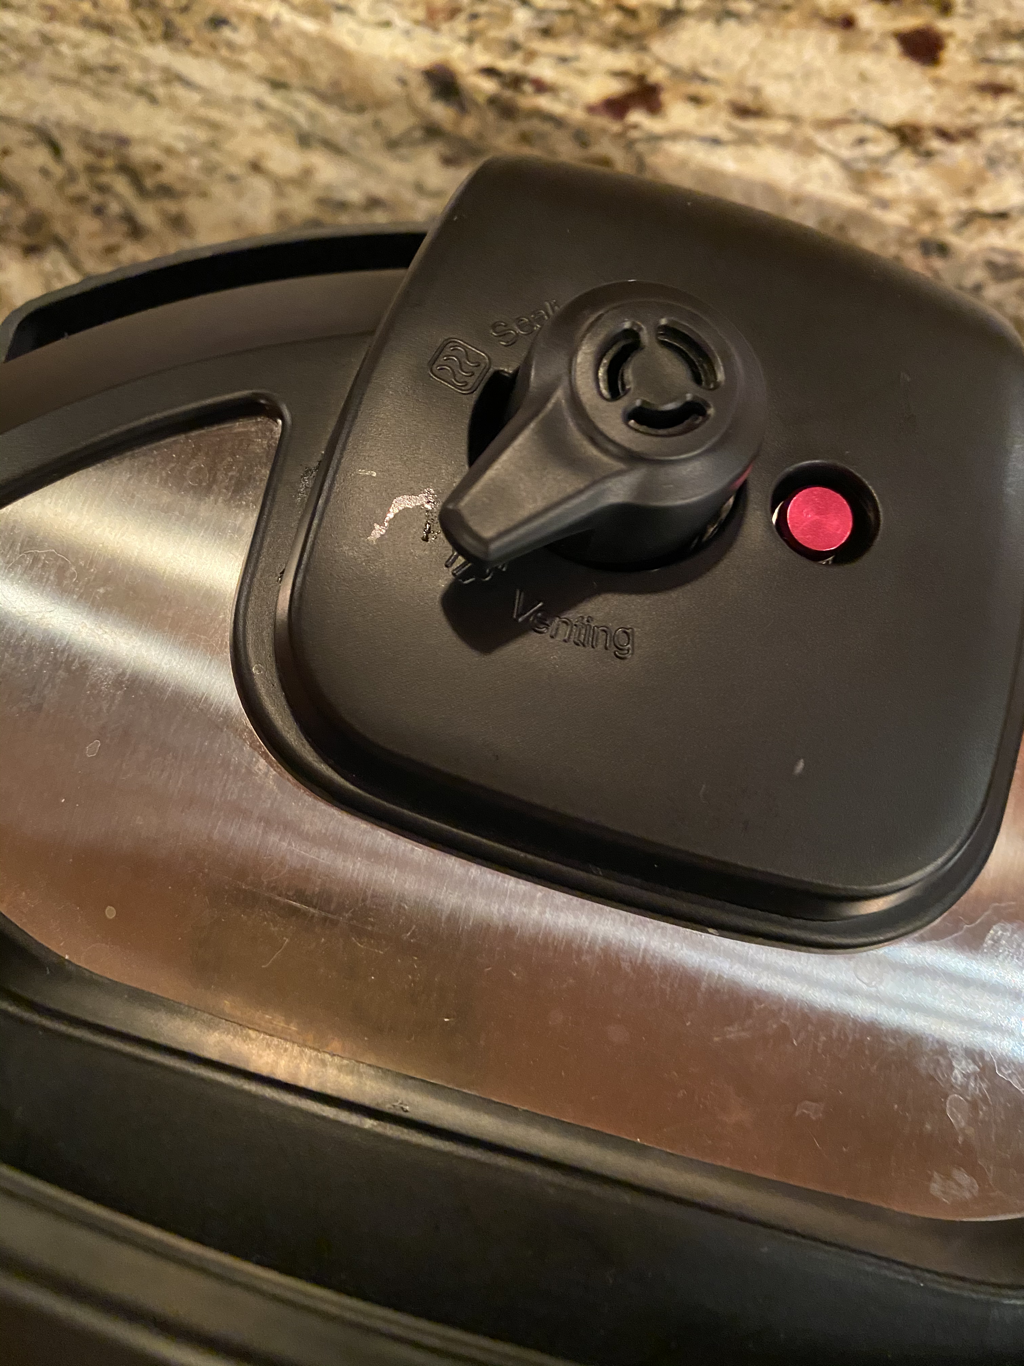 4. Place the pot back inside of the Instant Pot and secure the lid, again, leaving the vent open. Press the "yogurt" button until it reads 8.5 hours. You can walk away at the point. The Instant Pot will keep the temperature regulated and begin counting up to 8.5 hours. 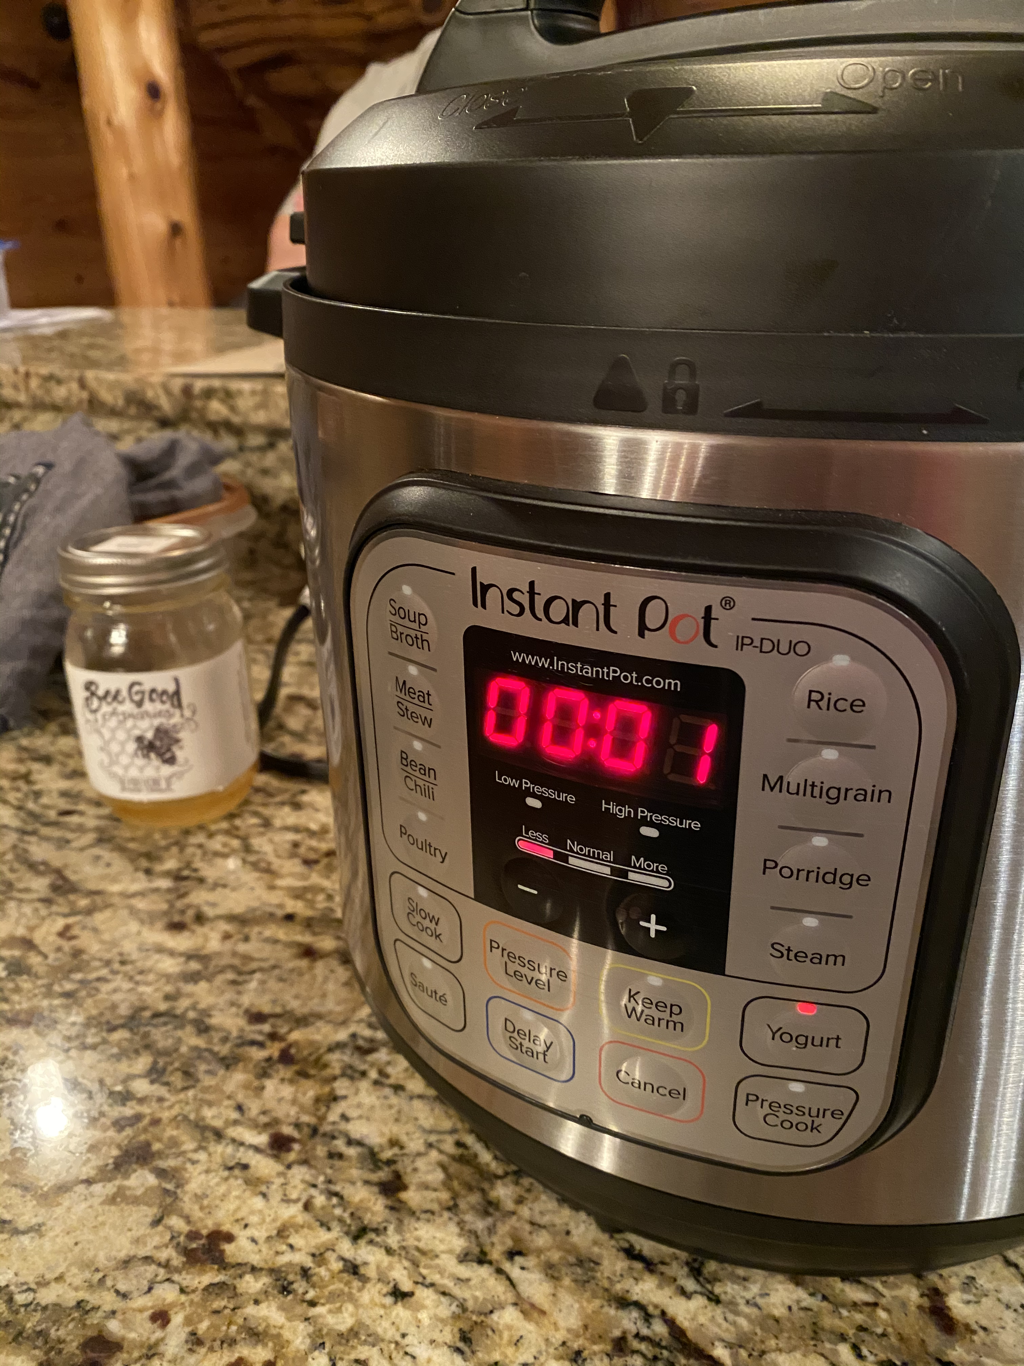 5. Once the timer goes off, remove the lid and the pot. At this point, I strain my yogurt to remove the whey and thicken the yogurt. You can skip this step, but your yogurt will be more runny and more sour. I wet the yogurt strainer with water because I have found that this helps keep the yogurt from drying out. I then secure the strainer on my colander and place the colander over a mixing bowl that is tall enough to suspend the yogurt above the whey. You can find the strainer I use here. 6. I then press plastic wrap down on top of the yogurt and wrap plastic wrap around the sides of the colander. Before I started doing this, the surface of the yogurt would dry out, leaving chunks in the yogurt. 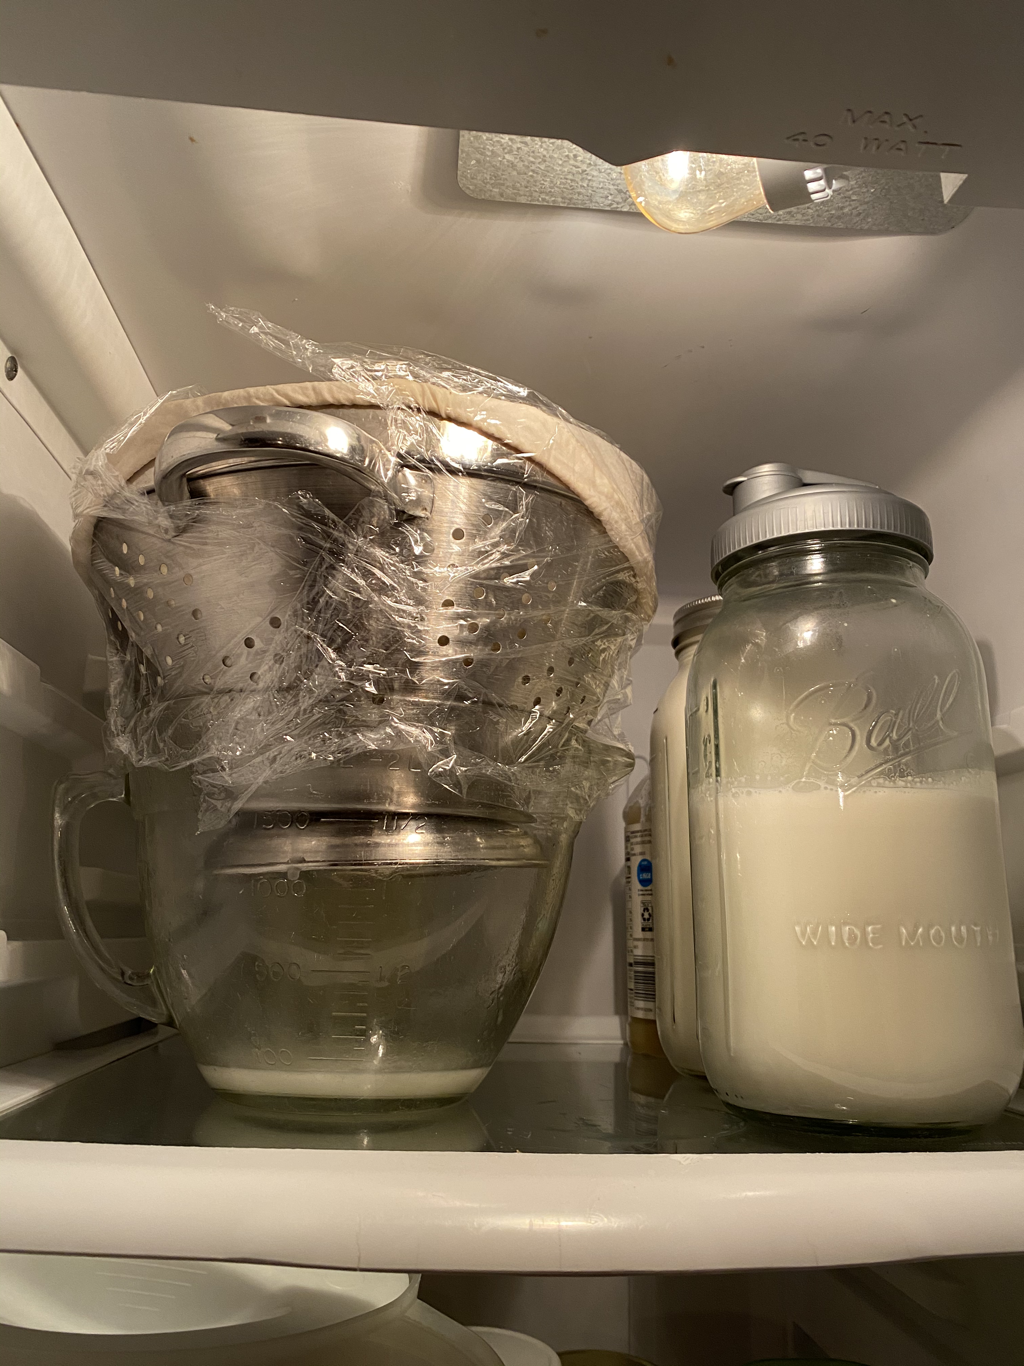 7. Finally, I place the colander and bowl in the fridge and let it strain over night. The next morning I dump the yogurt into a container with a lid and take the whey to the chickens. They love it. 8. You're left with a thick and creamy yogurt- perfect for eating plain or for mixing with berries and granola. A little liquid may collect on top of your yogurt. This is not a problem. You can just stir it in. That's it. Pretty simple.
I made a double batch last week because we were going through so much yogurt, and it turned out nicely. I did up the cook time to 10 hours because I was using a full gallon of milk, and I needed a bigger bowl to collect the whey, but it was worth the extra time because this double batch lasted us a full week. Have you given homemade yogurt a try before? What tips can you share with us all? |

Our Farm's Voice
Hello! I'm Madelaine Paige, and I'm so glad we've met. I love mornings, milk cows, and musings. Archives
July 2021
Categories |


 RSS Feed
