 A few weeks ago I posted about my yogurt making process on our social media stories, and you all responded with lots of questions. I decided it would be easiest to answer them all in one spot. I am excited that so many of you are wanting to give homemade yogurt a try. I included the step by step process below. I use our Instant Pot, but if you don't own an Instant Pot, a quick Google search can help you find oven and crockpot recipes for yogurt. Because I haven't experimented with any of those recipes, I'm not going to link any of them here, but if you have a recipe that you love, please feel free to pass it on. To get started, you need an Instant Pot with a yogurt setting, half a gallon of whole milk, 1/2 cup of honey, and 2 T. of cultured yogurt (I started with GREEK GODZ greek yogurt from Walmart, but any yogurt that lists live and active cultures on the ingredient list should work). 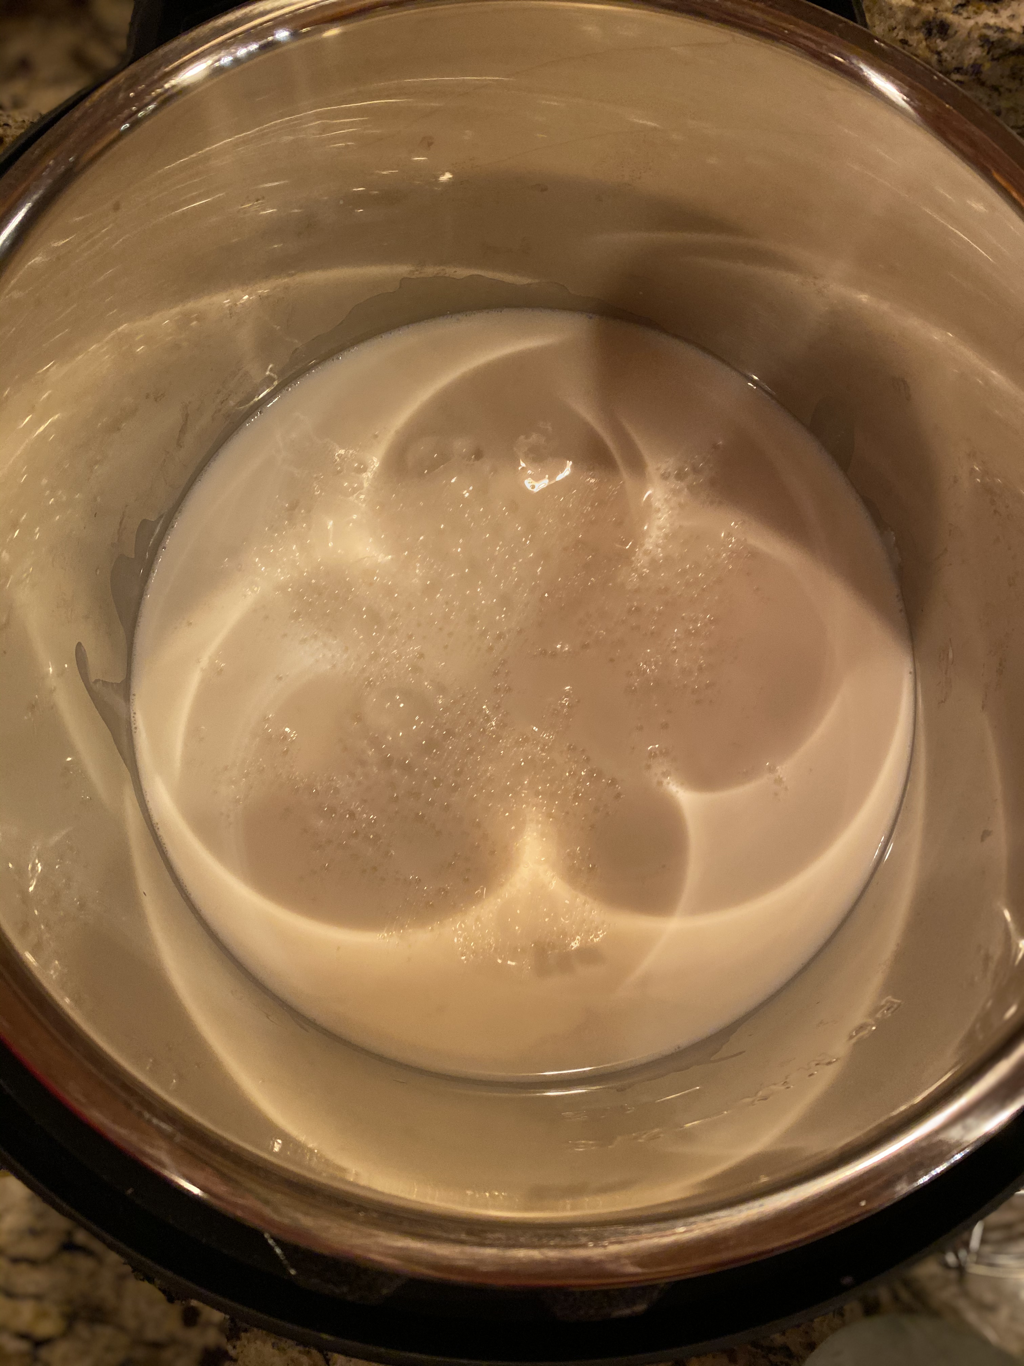 1. Start by making sure your Instant Pot is clean and dry. Plug it in. Pour in the half gallon of milk. Secure the lid. Make sure the vent is open (you don't want to pressurize the milk), and press the "yogurt" button on the Instant Pot until it reads "boil." Walk away until you hear the prolonged beep letting you know it's ready for the next step. I would say this takes 15-20 minutes. Note: the milk does not actually boil at this point. It scalds. Several of you asked about whether or not the heat hurts the nutrient properties of the milk. From the research I have done, you are just warming the milk enough to activate the starter and not causing significant damage to the nutrients in the milk. 2. When the beeping ends on your boil setting, remove the lid and lift out your pot with potholders. Set the pot on a cooling rack, and allow the milk to cool. The recipe I originally followed said to cool it down to 110 degrees F. before adding the culture, but I have found that 15 minutes in our kitchen is the right amount of time. 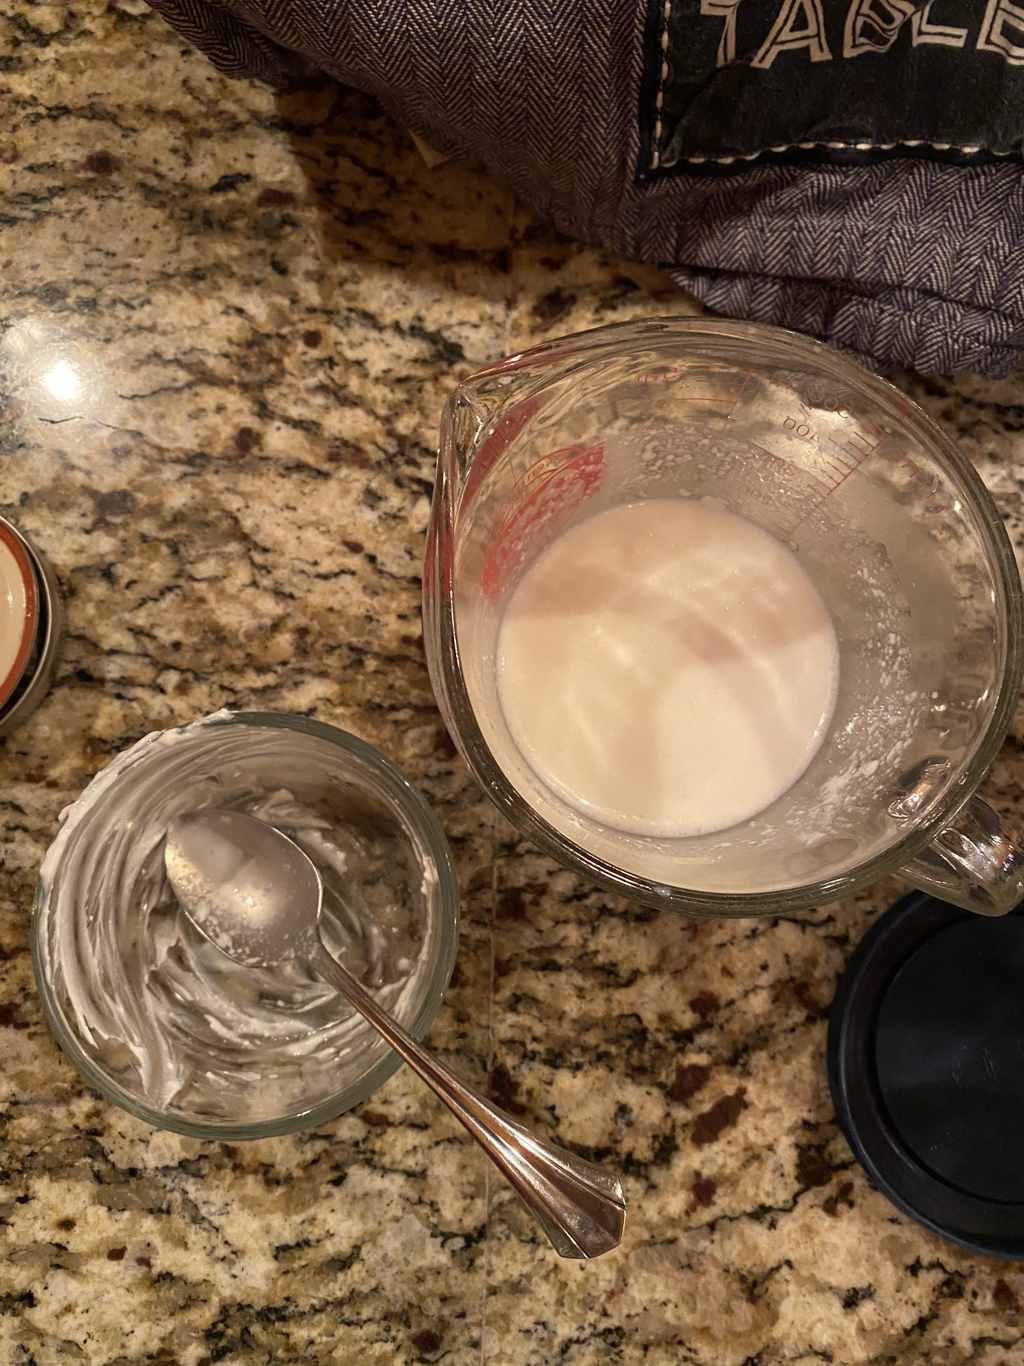 3. Once the milk has cooled, ladle out half a cup into a measuring cup. Whisk in two tablespoons of your cultured yogurt. Add 1/2 cup of honey to the milk and yogurt mixture. Whisk well and pour the mixture into the pot with the rest of the milk, whisking to incorporate. There will likely be a film on top of your milk from the scalding process. Don't worry about it. It won't hurt anything. 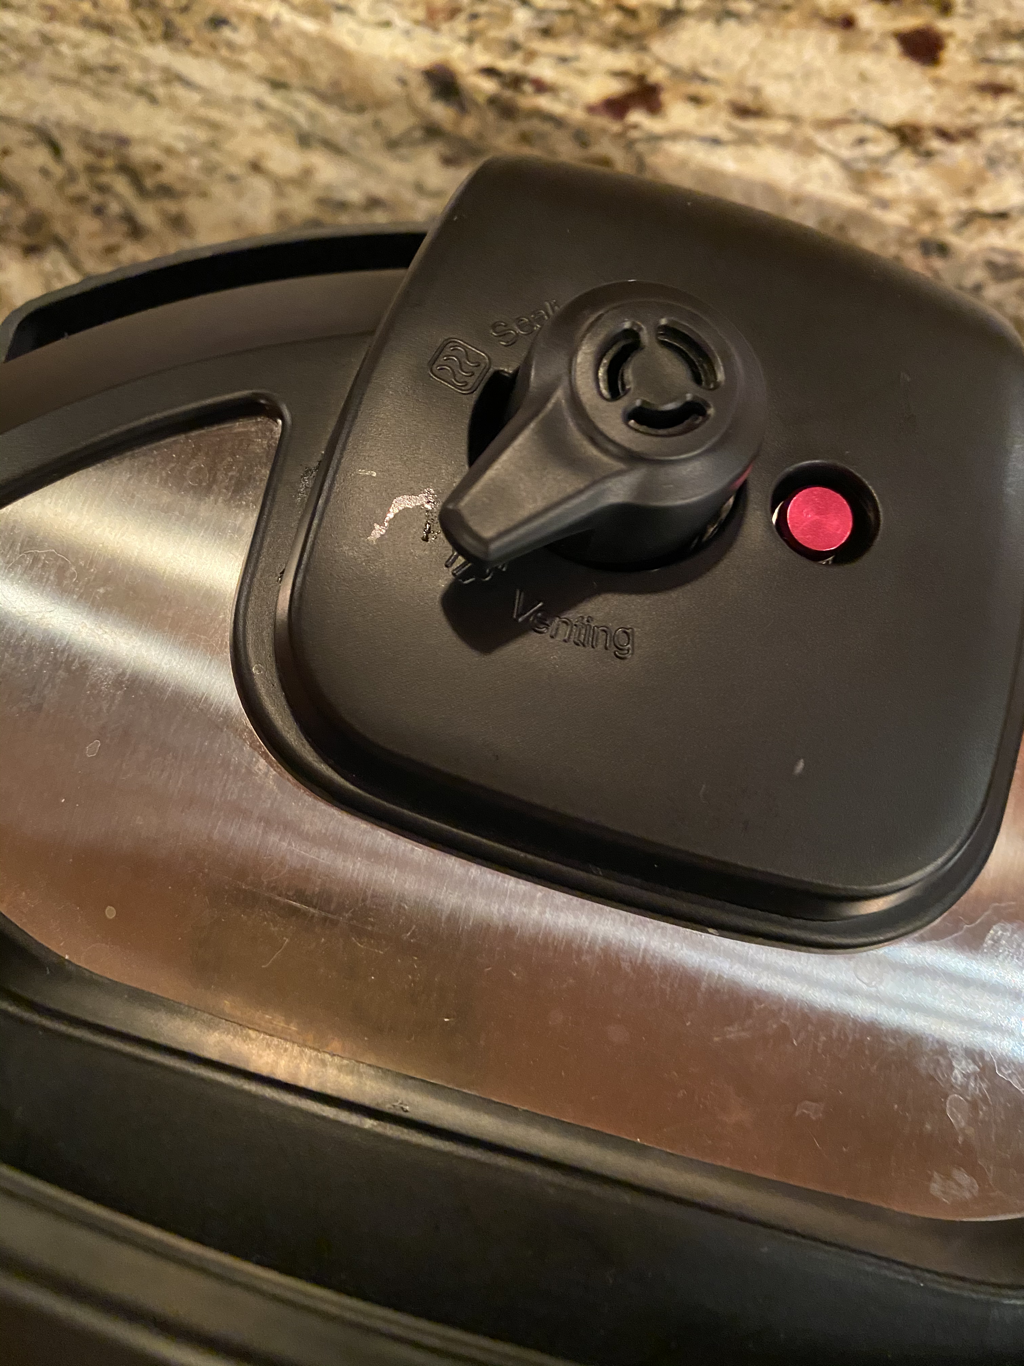 4. Place the pot back inside of the Instant Pot and secure the lid, again, leaving the vent open. Press the "yogurt" button until it reads 8.5 hours. You can walk away at the point. The Instant Pot will keep the temperature regulated and begin counting up to 8.5 hours. 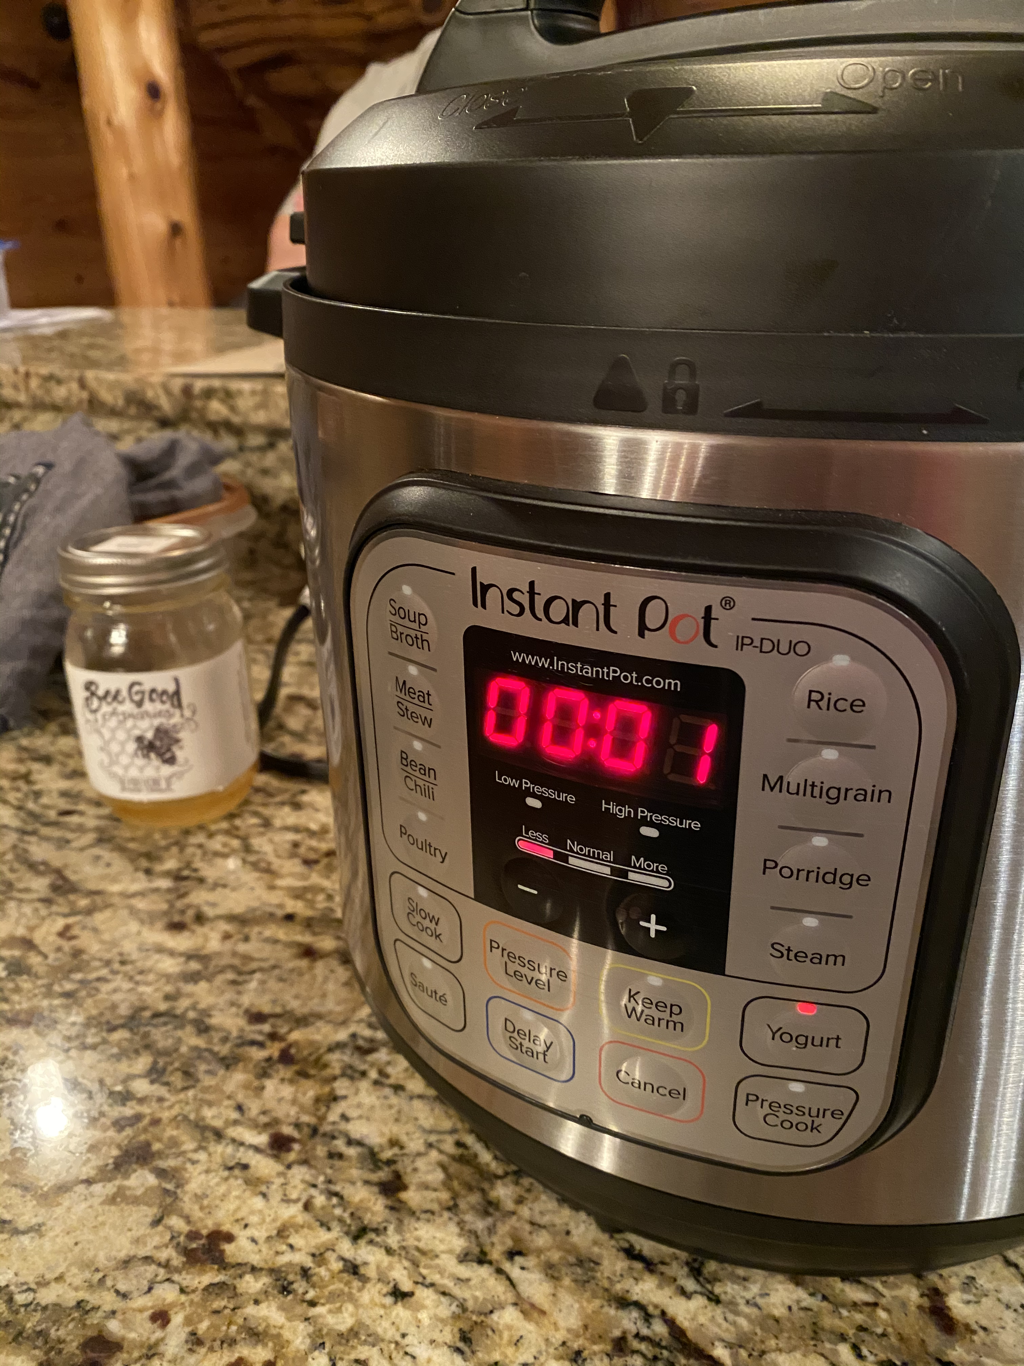 5. Once the timer goes off, remove the lid and the pot. At this point, I strain my yogurt to remove the whey and thicken the yogurt. You can skip this step, but your yogurt will be more runny and more sour. I wet the yogurt strainer with water because I have found that this helps keep the yogurt from drying out. I then secure the strainer on my colander and place the colander over a mixing bowl that is tall enough to suspend the yogurt above the whey. You can find the strainer I use here. 6. I then press plastic wrap down on top of the yogurt and wrap plastic wrap around the sides of the colander. Before I started doing this, the surface of the yogurt would dry out, leaving chunks in the yogurt. 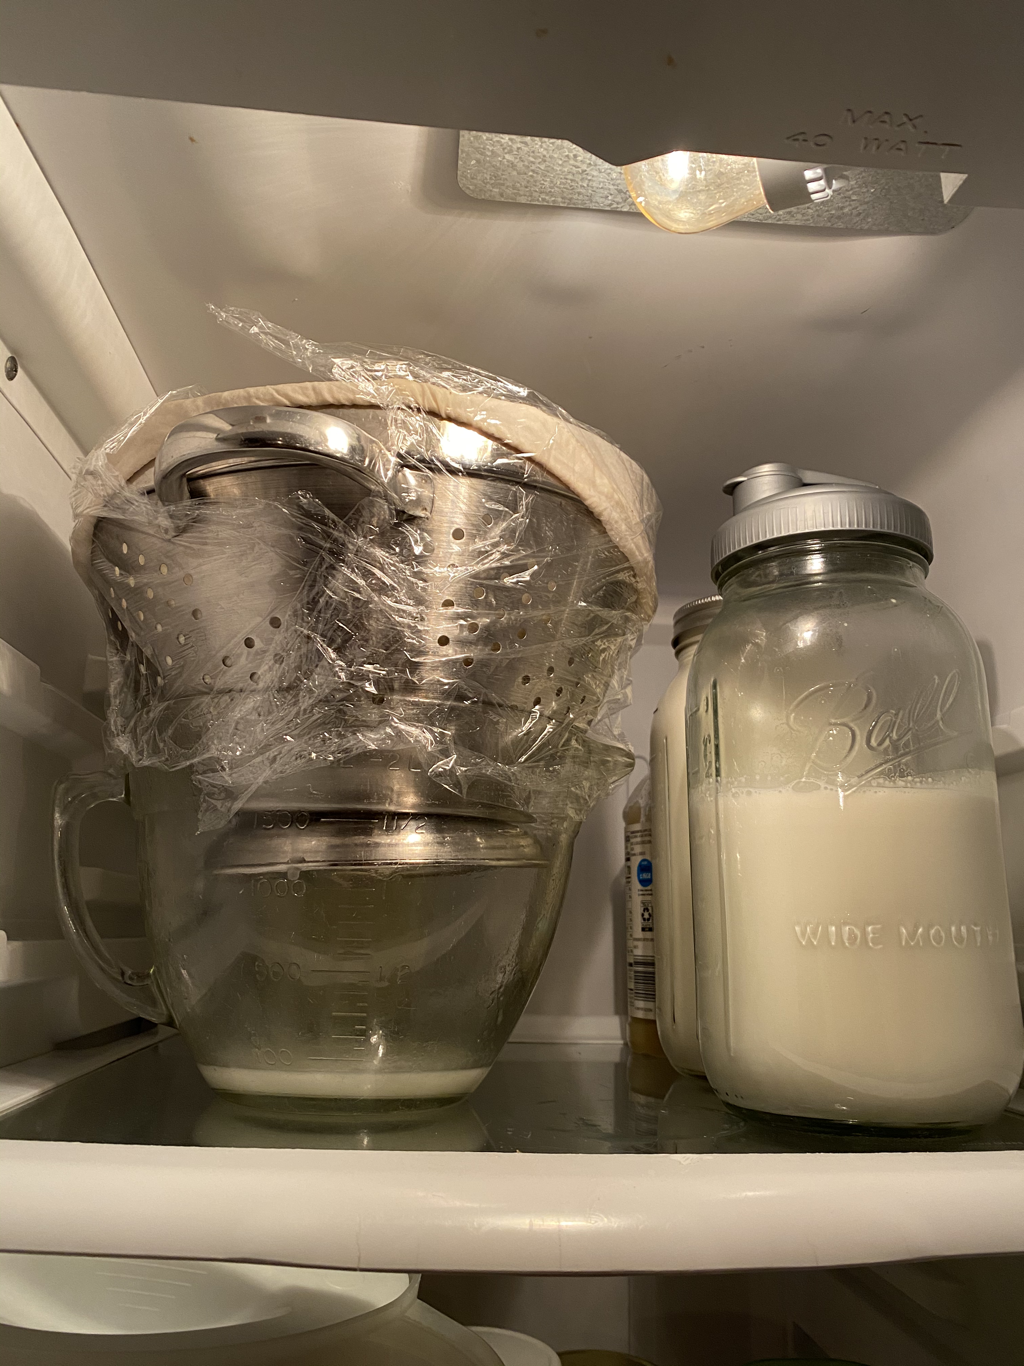 7. Finally, I place the colander and bowl in the fridge and let it strain over night. The next morning I dump the yogurt into a container with a lid and take the whey to the chickens. They love it. 8. You're left with a thick and creamy yogurt- perfect for eating plain or for mixing with berries and granola. A little liquid may collect on top of your yogurt. This is not a problem. You can just stir it in. That's it. Pretty simple.
I made a double batch last week because we were going through so much yogurt, and it turned out nicely. I did up the cook time to 10 hours because I was using a full gallon of milk, and I needed a bigger bowl to collect the whey, but it was worth the extra time because this double batch lasted us a full week. Have you given homemade yogurt a try before? What tips can you share with us all?
1 Comment
Nancy
3/17/2021 01:54:54 pm
I would love to try my hand at making yogurt! I was wondering, are you using the milk with or without the cream taken off? Leave a Reply. |

Our Farm's Voice
Hello! I'm Madelaine Paige, and I'm so glad we've met. I love mornings, milk cows, and musings. Archives
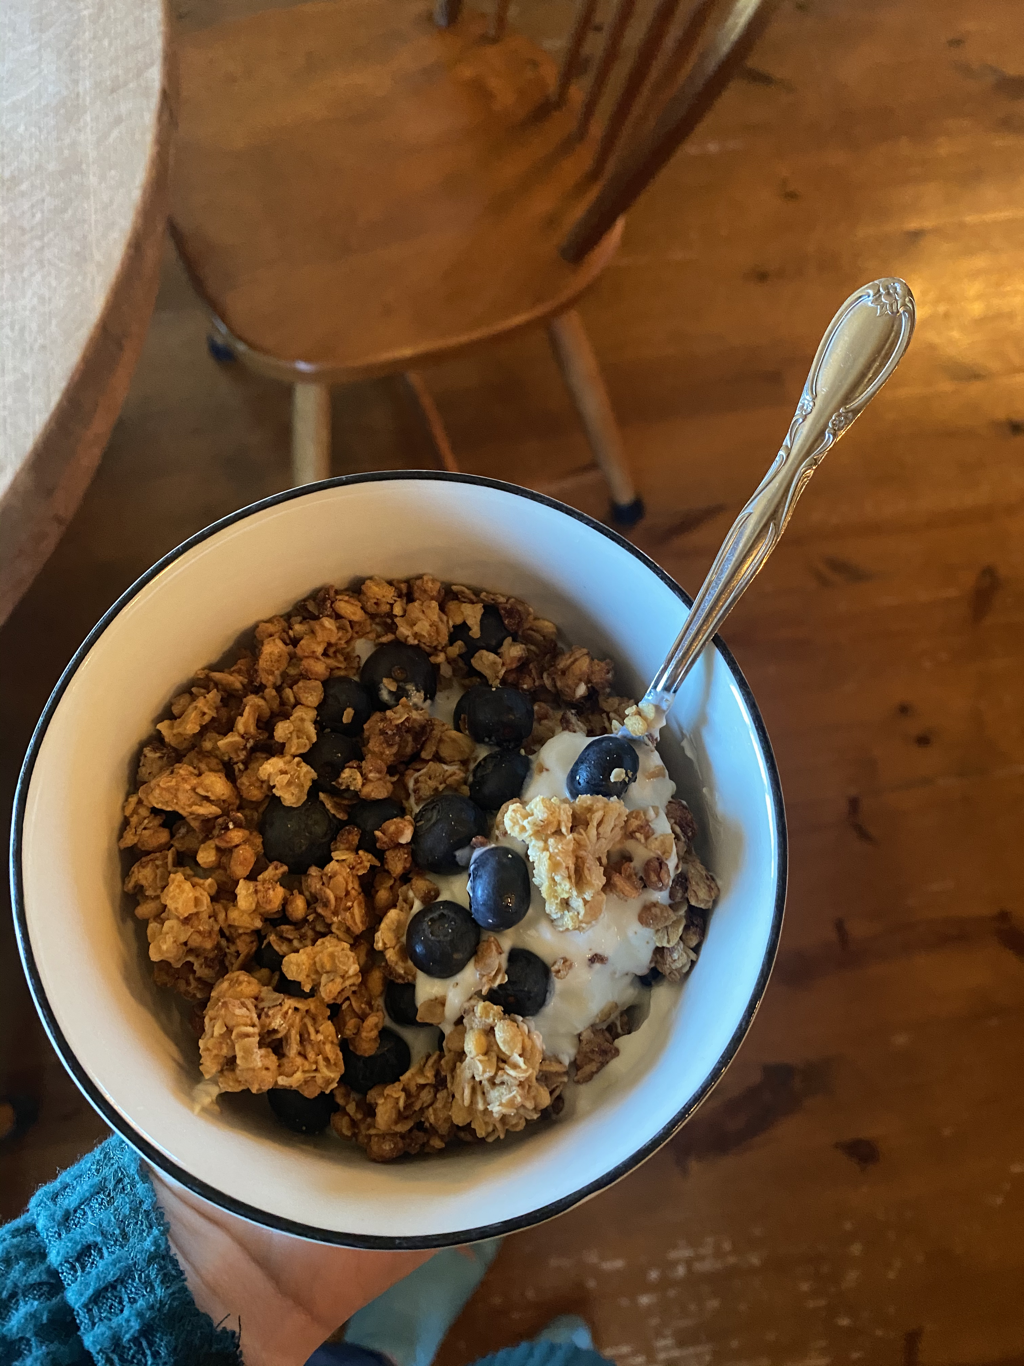
July 2021
Categories |
 RSS Feed
